So I've come to realize that trying to get back into the blogging habit just before Thanksgiving craziness was, in itself, pretty crazy. What was I thinking? Oops.
I'm still here and still have plans to keep blogging; I just can't quite seem to get back into a rhythm. Le sigh. However, I do have a little mini-post to share today: An update on the photo-a-day project I started as part of my 26 in 26 list. Newsflash: I haven't been perfect with this. I had literally no idea how hard it would actually be to just take a photo every day. I'm not even restricting myself to DSLR-only photos; probably 95% of my daily shots are taken with my iPhone. There have been a few times were I went multiple days without taking a single postable photo. Some days, I don't take any photos at all. I'm almost halfway through the project, and I really want the second half to be more successful than the first.
You can view the entire album--141 photos as of this morning--here, view some older favorites in a blog post here, or keep scrolling for some of my more recent favorites.

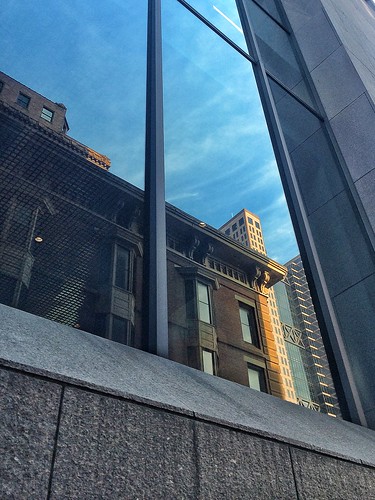
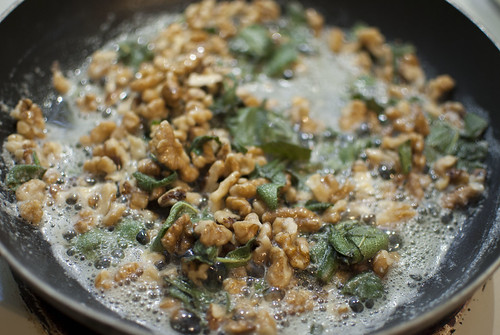
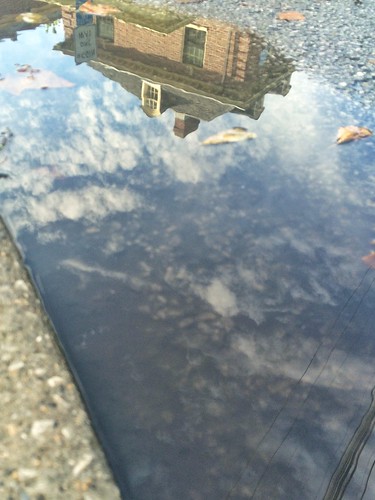

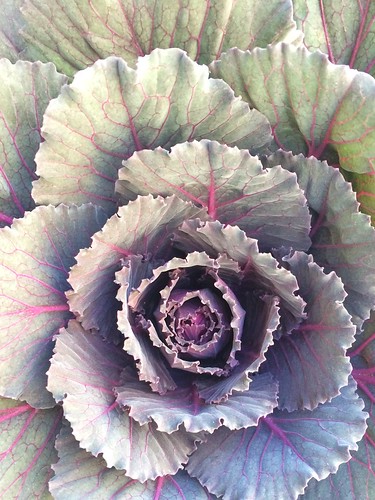
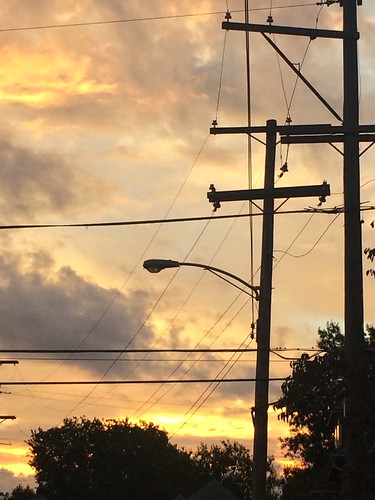
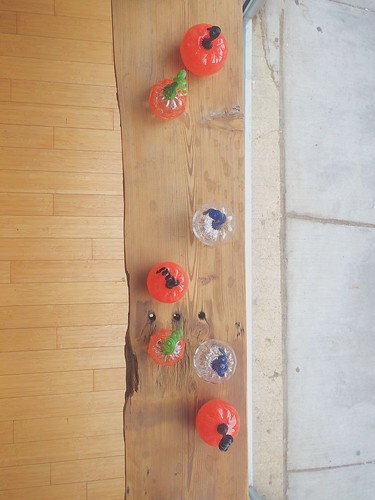
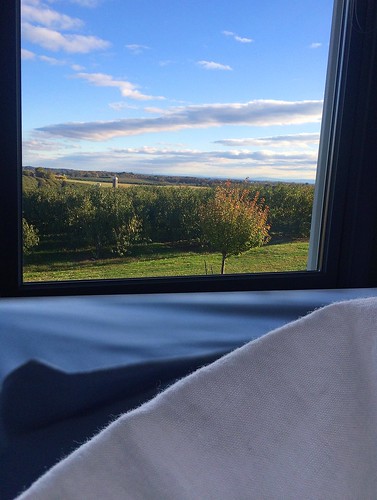
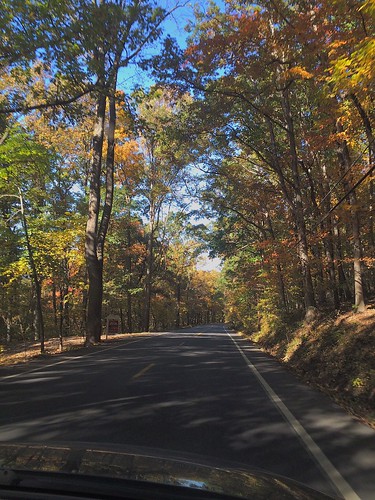

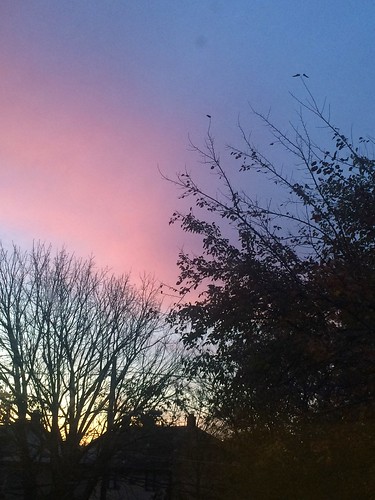 Have you ever done a photo-a-day project? Any tips for remembering to actually shoot daily? (I have a reminder on my phone that goes off every night at 9, telling me to post a picture, but if I don't have any shots by then it usually doesn't happen.) What about tips for inspiration and picking varied subjects? (I find a lot of repeat shots--stuff from my office window, my cat, sunrises and sunsets, clouds, etc.)
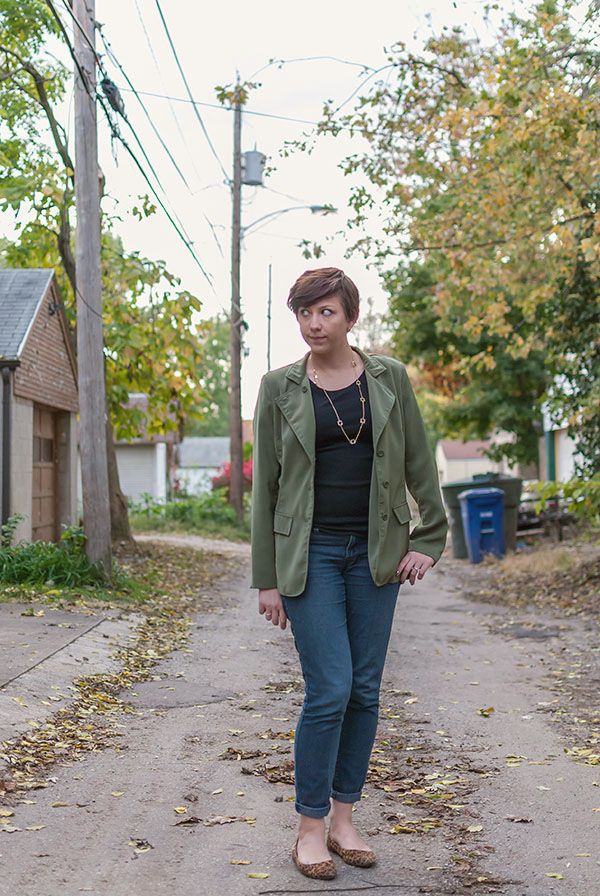
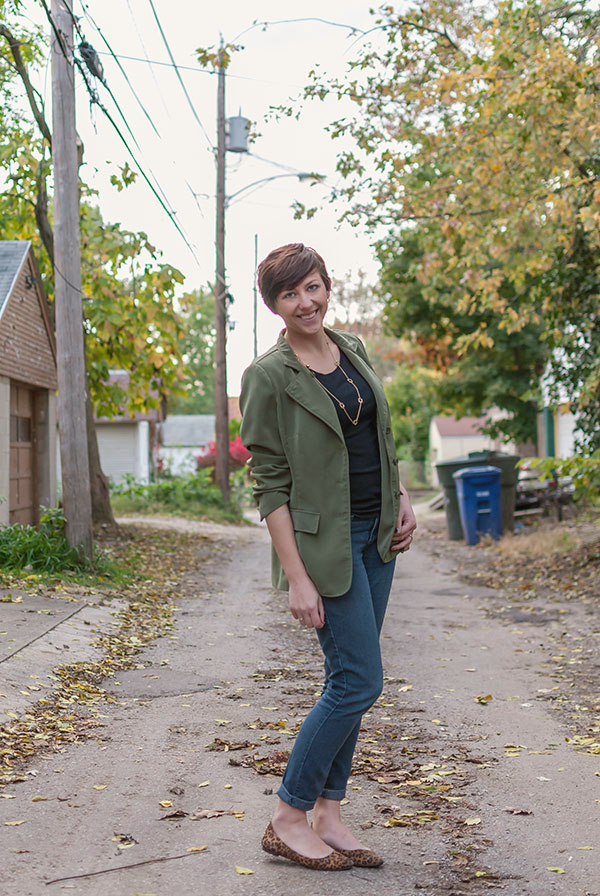
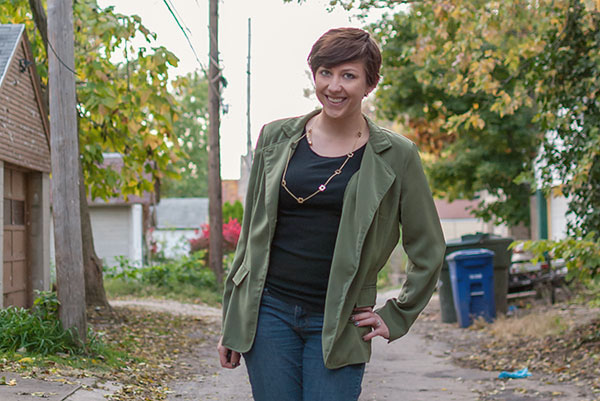
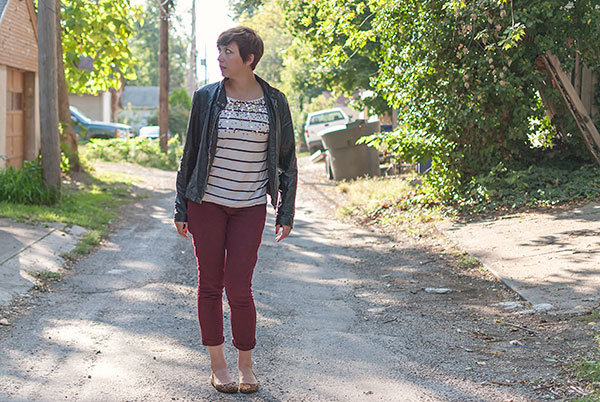
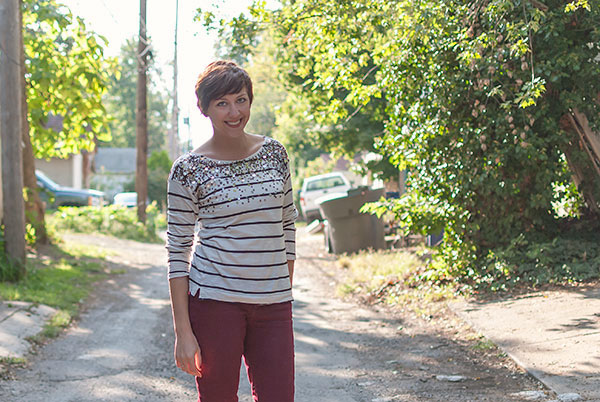
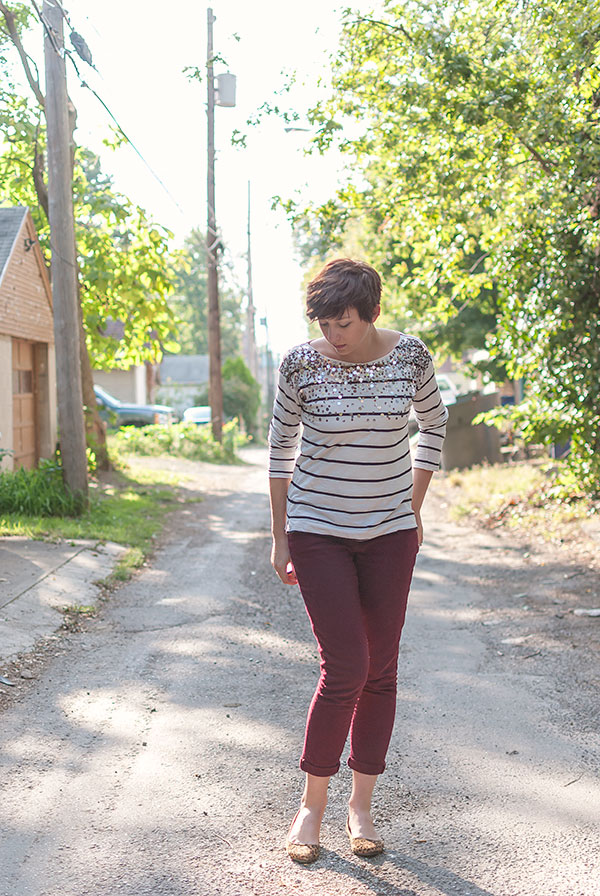
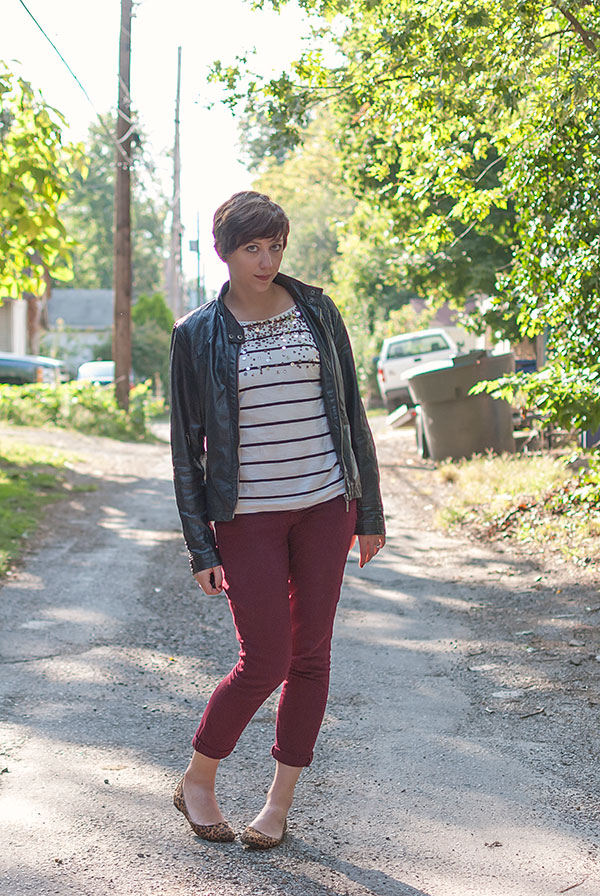
t-shirt: Old Navy
jacket/blazer: thrifted
skinnies: Forever 21
flats: Target
necklace: gifted Kate Spade
That's right; the weather outside certainly is frightful. We got our first real snow of the season last night; now there's an inch or two of icy/slushy/powdery mix on the ground. Delightful (not). Get ready for these wonderfully lit outdoor alley shots (from last month) to disappear; it's time for me to make the switch to shooting indoors. Womp womppppp.
Also frightful this weekend was my intense anxiety level. I had probably the worst shopping experience of my life on Saturday, when I tried to buy a corset for under my wedding dress. Seriously guys, if you need a quick fix for hating yourself and your body, I highly recommend corset shopping for two hours. I apparently have weird proportions, so everything that fit around my stomach wound up giving me awkward and heartbreaking armpit fat, which apparently is a real thing. And everything that avoided the apparently-a-thing armpit fat was way too big in the stomach. I wound up buying a strapless bra and a stomach-only corset piece thing (kind of like this, only it goes from your bra line down to your hips, not from your waist down past your hips). They were way more than I wanted to spend, but I'll at least be able to wear both of them under other outfits. Plus, I now get to go up to my grandma's house and try on the dress again (I have to make sure the undergarments work, of course!) so it's not a total loss.
Then Saturday night, I had a host of wedding nightmares. Awful stress dreams about not having a dress at all (I walked down the aisle in a gray maxi dress and a cardigan), about being in the wrong venue, about the music not playing right during the ceremony...basically, everything was just wrong. Then I got a text from my sister; a fire on campus at our alma mater had destroyed the apartment I lived in my junior year. It was an attic studio apartment above a flower shop, and the entire attic just collapsed into the apartment below it. I was devastated; I had a lot of great memories in that apartment. Obviously the situation is so much worse for the students who are living there now; they lost everything they own. I'll be donating to the university's fund for them; if you have some extra cash lying around and want to do a little good with it, you can do the same here. Just select the "Ohio Parents and Family Endowment."
So between bad shopping experiences and dreams and sad news, my Sunday was shaping up to be a huge sulk-fest. But then I went to a meeting for a new project I'm working on and it honestly turned my entire day around. I left feeling excited, optimistic and refreshed. I don't want to go into too much detail on the project, because I'm honestly a little terrified that my contribution will be terrible, but if all goes well I'll divulge more in the spring.
Aaaaand that was my weekend. Here's hoping yours had more high points than low ones!
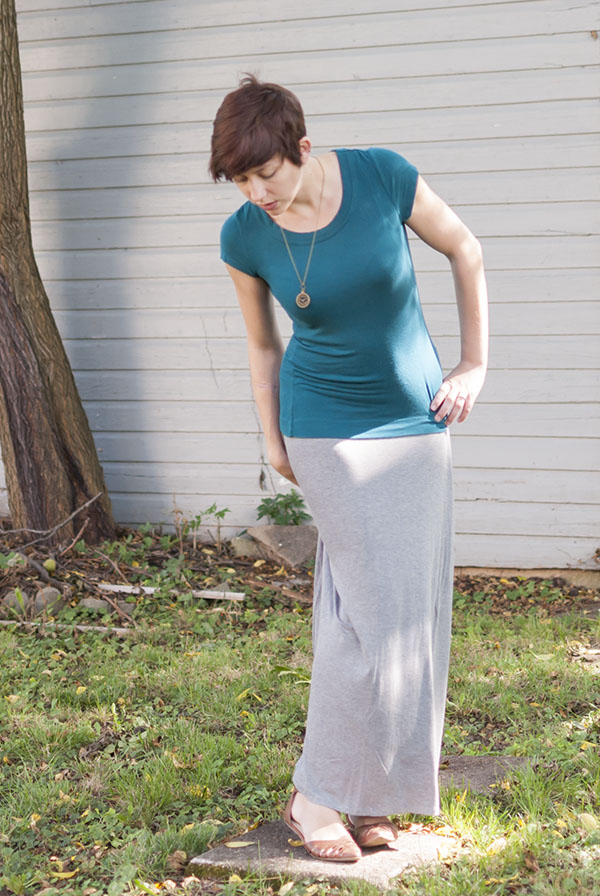
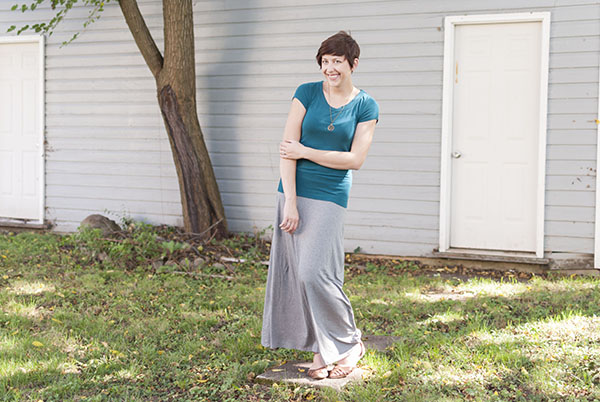
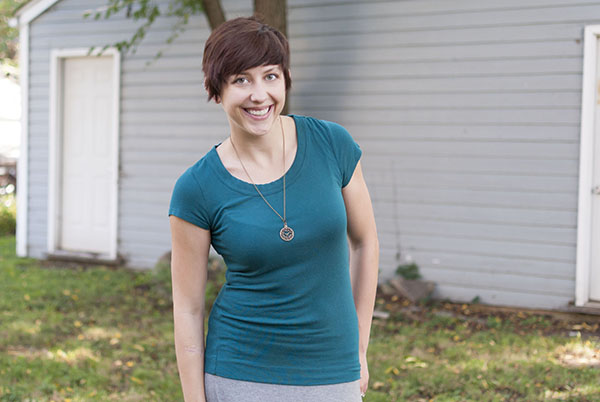
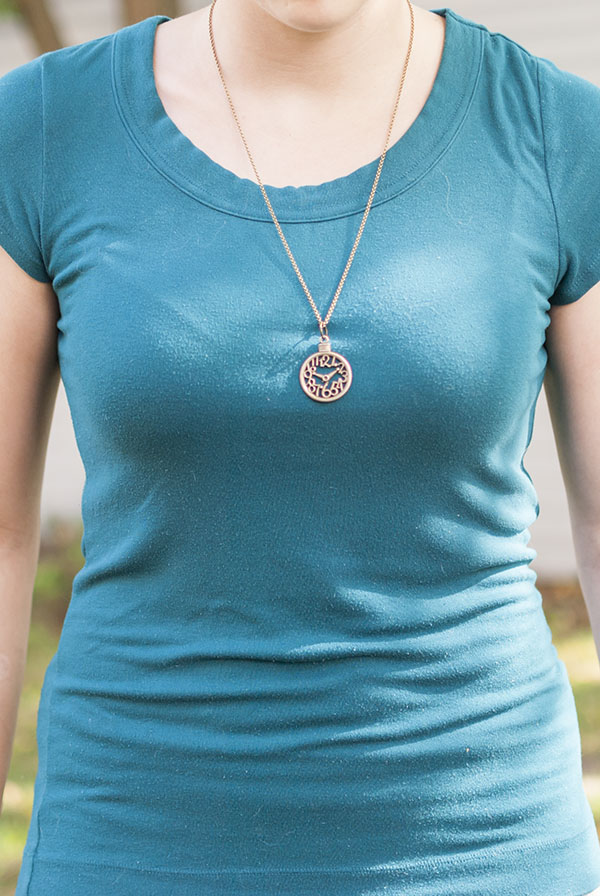
t-shirt: The Limited
maxi skirt: Target
sandals: BCBG via TJ Maxx
necklace: Cassiopeia by Corinne on Etsy
Howdy hey, folks! It looks like things might finally be slowing down for me. After eight photo shoots, two weddings, a few Halloween festivities, some much-appreciated family time and a killer cough that I'm still trying to recover from, I'm finally trying to get back into the blogging routine.
Fortunately, I've been making a point to shoot a couple of outfit photos here and there during my hiatus; this one is from early September, back when the weather was warm and sunny. I miss you already, summer. Buuuuut the past few days have been a little warmer, so I thought it wouldn't be too bizarre to post this before it's too late.
This necklace, by the way? My friend Corinne made it. I'm loving it lately and have been wearing it a lot...it just goes so well with everything! You should definitely check out Corinne's Etsy shop if you're looking for a cute, vintage-y new necklace or other jewelry.
Phew. I feel like getting back into the swing of just knocking out a post off the top of my head might be harder than I thought. Ah, well. Looks like you guys are stuck with some awkward banter for a while :) #storyofmylife
Taking a break from my break to share with you all my October clothes budget! I know you've been waiting on the edge of your seats for this and I wasn't about to let you all down. You may recall, because you read with rapt devotion, my saying that I wanted to try to only buy a pair or two of boots this month, without blowing my $100 budget. I'd say in that respect, this month was a mild success. See for yourselves:
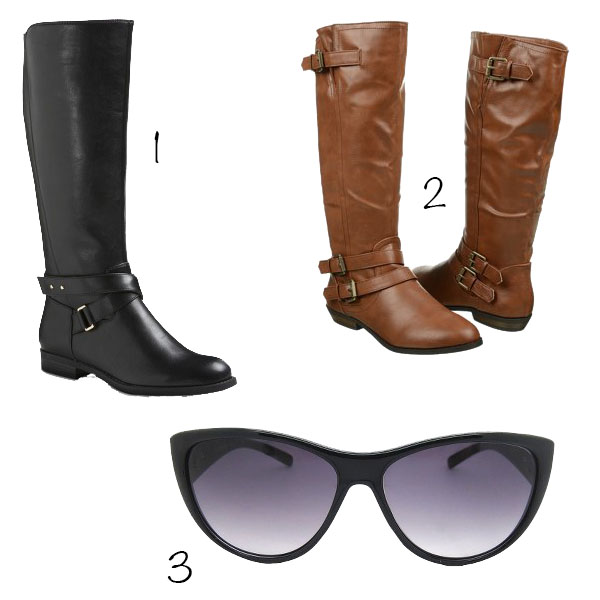 1. Merona "Morgan" boots via Target. I noticed that my black slouchy boots were seriously scuffed on the toes. As in, the toes were wearing through completely. I could have colored them in with marker, but I wanted a boot that a) wasn't slouchy and b) would keep my toes dry if it rained. Problem, solved. | $39.99 {exact}
2. Madden Girl Elsiee boots via Famous Footwear. My cognac slouchy boots were in even worse shape than my black ones. I realized that I wore my cognac boots more than any other pair last year, so I decided to invest in a nicer pair this year. These were a little more than I usually pay for boots, without taking up my whole month's budget. | $69.99 {exact}
3. Sunnies via Target. To replace the identical pair I've been wearing forever, including when riding Perdita the Scooter. The original pair has a lot of scratches, so they've been designated my official scootin' sunnies. | $13.49 {exact, but a different price for some reason}
Grand total with taxes: $133.16. Okay, so it's a tad overbudget. But considering what I got, I'm not at all disappointed :)
Disclaimer: I also bought a dress for my Halloween costume that I might be able to rewear, but I'm not counting it. Because Halloween.
How did you do on your budget this month?
Howdy folks! Taking a quick break from editing my friends' engagement photos to post a little DIY featuring our engagement photos! I knew I wanted to do a magnet save the date, both for the convenience of the recipients and frankly because it's just kinda cool. But when I researched prices from places like VistaPrint, it was just more than I wanted to pay. So when I found this tutorial for DIY save-the-date magnets, I was sold.
I have InDesign, so I figured doing the magnet layout wouldn't be too hard. I was wrong, or more accurately, I severely underestimated my perfectionism; it took me something like two weeks to design the dang thing. But once I finally settled on my fonts, graphics, photos and overall layout, I was ready to go.
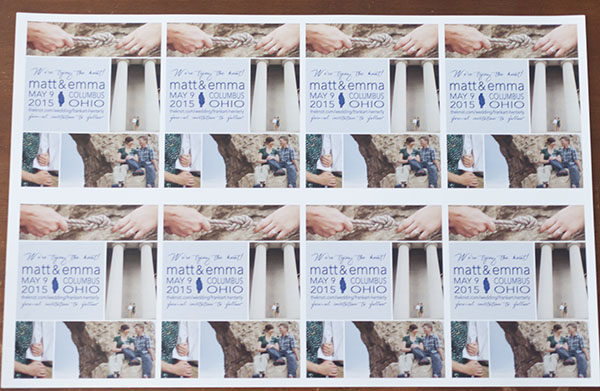
I found a nice paper cutter and some 8.5-by-11-inch sheets of magnet with adhesive backing on Amazon, and found a nice semi-matte paper at Staples. I decided to print on 11 by 17 paper; fewer sheets meant more cutting but a lower cost. So once the sheets were printed, I had this:
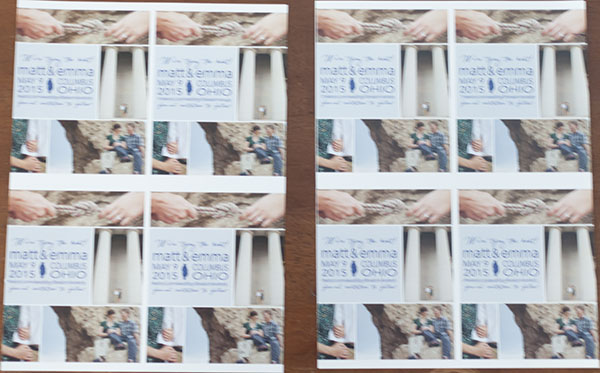
 Then I just had to cut them in half, so each 11 by 17 sheet became two 8.5 by 11 sheets:
 Then I peeled the backing off of a magnet sheet and very carefully laid the sheet of save-the-dates on the adhesive side:
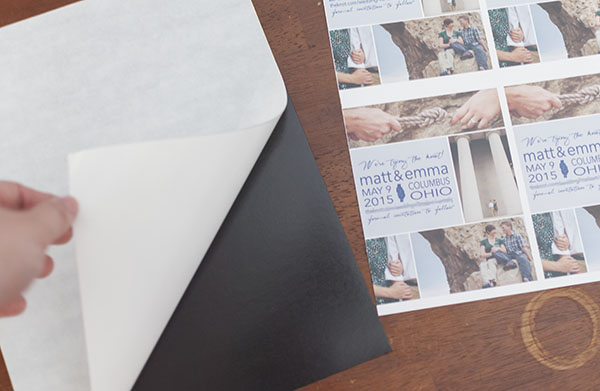
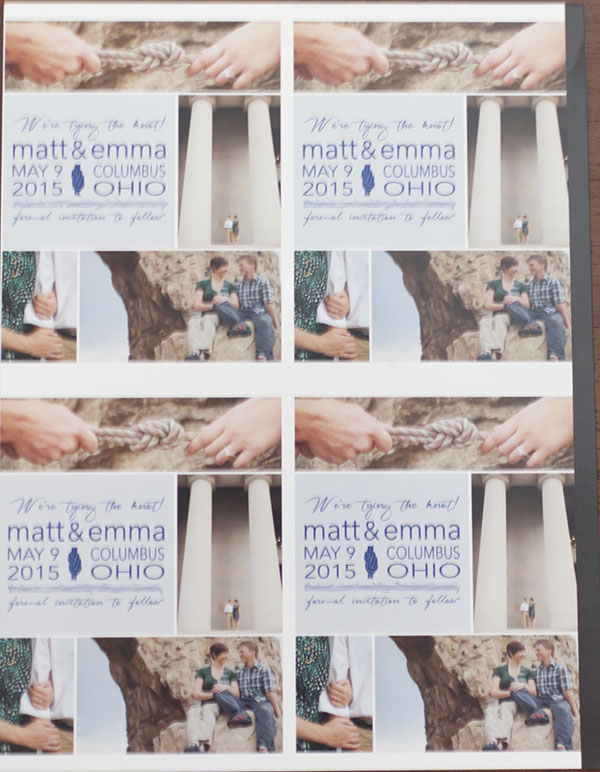 That actually took a bit of trial and error, but luckily I thought to have extras, so ultimately there was no lost. Then, it was just a matter of cutting out the individual save-the-dates:
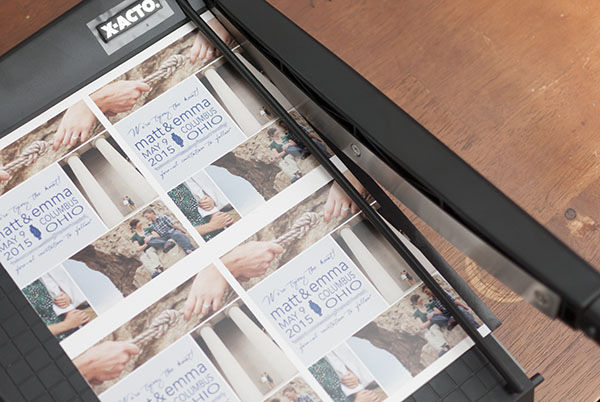
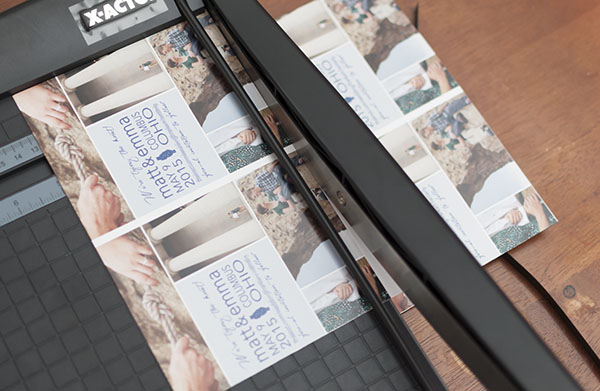
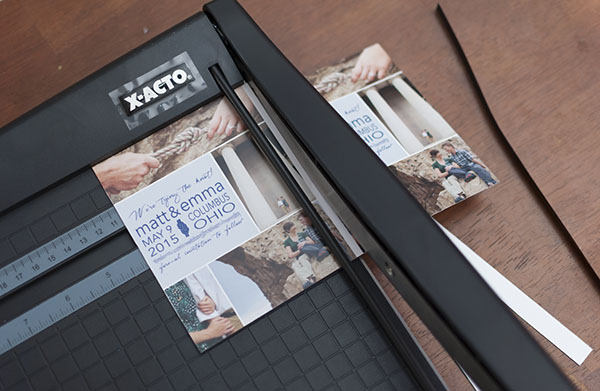 Ta-da!
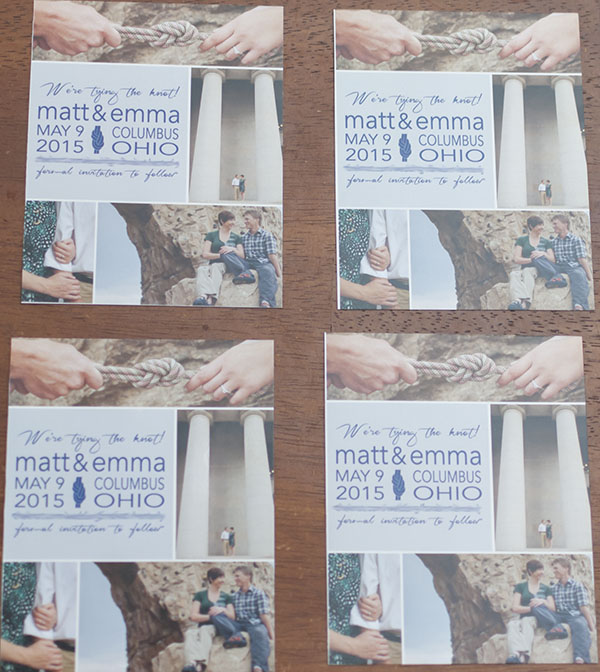 This wasn't quite the end, though. The paper cutter was nice, but it wasn't exact. And to be honest, I was kind of hurrying to get them all done. So I tended to wind up with some imperfect edges:
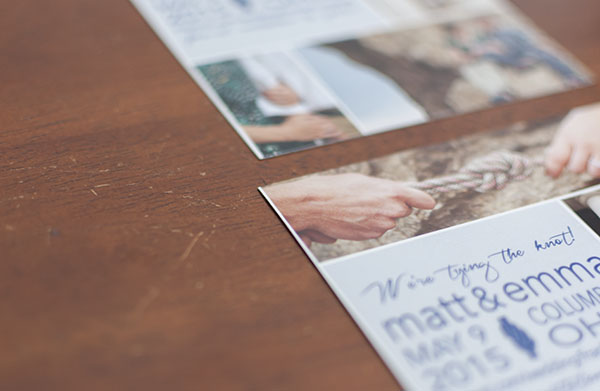 Soooo I just trimmed them by hand with scissors:
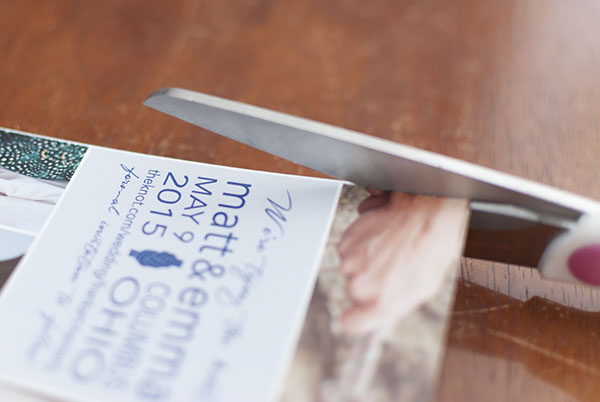 And here they are! Just over 100 save-the-date magnets, all done in an afternoon!
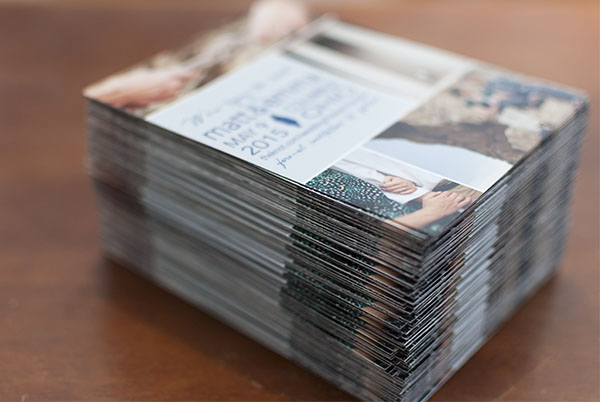 If anyone's wondering, I went with a "tying the knot" theme because Matt and I climb; that's our first climbing rope in the top photo. The shot on the side, with the two big columns, is the Ohio Statehouse — where he proposed :) And the shot in the bottom-right is us at the Scioto Audubon Metro Park, which has the nicest faux-rock wall I've ever seen. Bonus: It's outside, and it's free to use! Oh and I apologize for the blurred line, but I didn't feel like advertising our wedding website — with details on the time and location of everything — in a public forum. #sorrynotsorry
Anyway, there you have it. Easy-peasy save-the-date magnets!
If anyone's wondering, I went with a "tying the knot" theme because Matt and I climb; that's our first climbing rope in the top photo. The shot on the side, with the two big columns, is the Ohio Statehouse — where he proposed :) And the shot in the bottom-right is us at the Scioto Audubon Metro Park, which has the nicest faux-rock wall I've ever seen. Bonus: It's outside, and it's free to use! Oh and I apologize for the blurred line, but I didn't feel like advertising our wedding website — with details on the time and location of everything — in a public forum. #sorrynotsorry
Anyway, there you have it. Easy-peasy save-the-date magnets!
Heyyyy folks...Long time no see! I'm still around and prepping for the insanity that is to come this month, but I thought I'd pop in real quick to shamelessly self-promote the online Jamberry party I'm hosting.
Some background: I first heard of Jamberry just last month, when my friend Kathryn hosted a party. I'll paraphrasing her sentiment on the matter, which I agree with wholeheartedly. Direct marketing sucks. It's a goofy thing and no one likes it. But Jamberry really is a cool product, which is why I'm schilling it here. Also, if just two more nail wraps are purchased before my party closes at 8 pm EST tonight, I get free stuff. So, full disclaimer there. I like free stuff.
So what is Jamberry? Basically, it's a nail wrap. A sticker thing you put on your nail. It lasts for up to two weeks (depending on how fast your nails grow). I'll admit, I was skeptical at first. Anything that claims to stay on your nails for two weeks typically tends to spend half the time on my nails. I have oily nail beds or something. Even a gel manicure didn't last longer than a few days for me! But these things, oh man. Jamberry nails really do last. My Jams typically last me 10 days, at which point my super-fast-growing nails make them look a bit silly. But in that 10 days? I rock climbed four times, one of them on real rock outdoors, and I saw nary a chip or peel.
These nail wraps really are that good.

The Jams I've bought so far, clockwise from top-left:
Vintage Chic, Sweet Nothing, Birds of a Feather, Midnight Celebration.
Other fun info you might like to know: Each sheet should get you two manicures AND two pedicures...unless you have crazy-big nails or something. They're non-toxic, vegan, and gluten-free. (So those with super-high gluten sensitivities won't be affected by them touching your skin/nails.) To apply: peel one off the plastic backing, stick a teeny edge of it on an orange stick or cuticle pusher, heat it over a hair dryer for a few seconds (like, five MAX), then just gently press it down onto your nail. You trim the excess with nail clippers or manicure scissors. To remove them: just soak a cotton ball in regular nail polish remover, soak it over the wrap for a few seconds, then use the orange stick/cuticle pusher to gently lift it off. Fun fact: You can also use coconut oil!
Bonus: If you buy three, you get one free!
If you're having trouble figuring out when the nails might look like on a real hand, you can search #(wrapname)jn on Instagram. Right now, I'm wearing Vintage Chic. So if you wanted to see my photo of that, and literally hundreds of others, you could search #vintagechicjn on Insta. (JN = Jamberry Nails, natch.)
Soooo if you want some sweet mani/pedis, head over to the site and select "Emma" at checkout.

Just some of the Jams I want to get soon!
Top row: Icy Boysenberry Polka and Boysenberry Chevron; China Rose Tip and China Rose.
Middle row: Urban Lights and Gilded Leopard; Puppy Love and Bright Noise.
Bottom row: Flirty Flair, Glam, Pumpkin Spice.
The legal stuff: I was not paid for this post and it is not sponsored by Jamberry. I really, truly like the product. I hosted a party and wanted to get some extra sales so I could be eligible for freebies. Views and opinions are my own.