
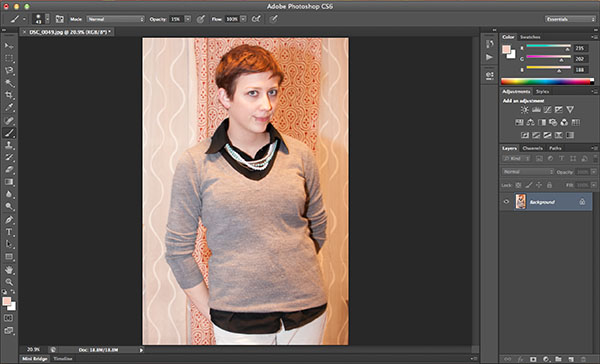
Ahem. Anyway, on to the 'tute. First, we'll look at the eyes, or rather, just under them. (Apologies for the grainy quality here; I have no idea what happened. Hopefully you'll get the picture.)
As with all Photoshop projects, the very first thing we do is make a new layer via copying the background layer. I use Command+J (Ctrl+J on a PC) to do this, or you can use the Layers panel on the right.
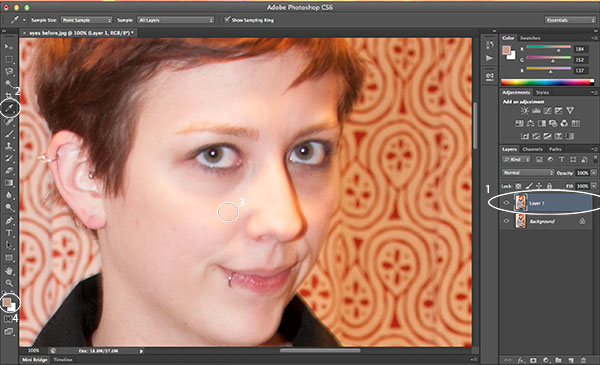
While working in the top layer (1 in the image above), I select the Eyedropper tool (2) and click a nice light patch of skin on my cheekbone or just under my eye (3). The color picker (4) shows that I grabbed that color.
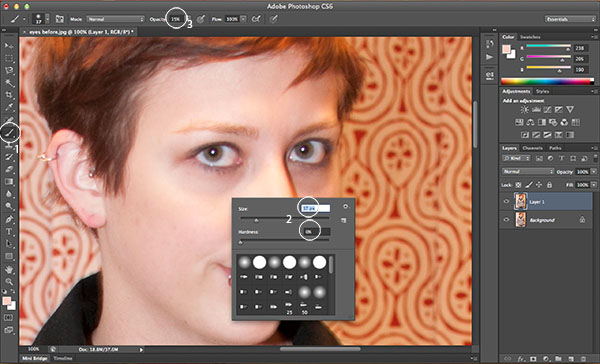
Then I select the Brush tool (1) and Ctrl+click (or right-click) to bring up the brush settings (2). I adjust to the necessary size and turn the hardness all the way down. (You can also make these adjustments from the brush settings drop-down menu in the top-left of the bar above the photo. But I have right-click enabled on my Mac and I just think it's easier.) Next, I set the brush's opacity (3) pretty low. I like it around 15%, but do whatever works best for you. Then I just carefully paint over my shadows until they're erased to my liking. You don't want to go overboard, or your face will look like it's made of plastic. (Note: if you have rosacea or anything like that, this tip works great for evening out skin tone!)
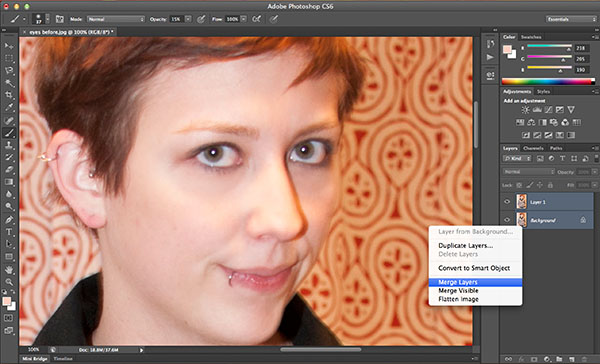
Once you have the perfect look, you just have to merge your layers. Select both, right-click either and select "Merge Layers," "Merge Visible" or "Flatten Image." (If you do either of the last two, you don't have to select the layers first.) A word of caution: Make ABSOLUTELY sure you like the look of your cover-up, because once you merge the layers you're done! You'd have to start from scratch to make other changes.
Voila! Photoshop-as-concealer. I was definitely going to do the teeth today as well, but then my lunch break (when I wrote all of the above) ended adn now it's 10 pm and I have some work to do before bed, so...to be continued? Sorry guys :(
No comments:
Post a Comment
Hello, awesome commenter! I love feedback and try to respond to all comments (especially ones with questions) if I can find an email or blog address.
Thaaaaaanks for reading!