Taking a break from my break to share with you all my October clothes budget! I know you've been waiting on the edge of your seats for this and I wasn't about to let you all down. You may recall, because you read with rapt devotion, my saying that I wanted to try to only buy a pair or two of boots this month, without blowing my $100 budget. I'd say in that respect, this month was a mild success. See for yourselves:
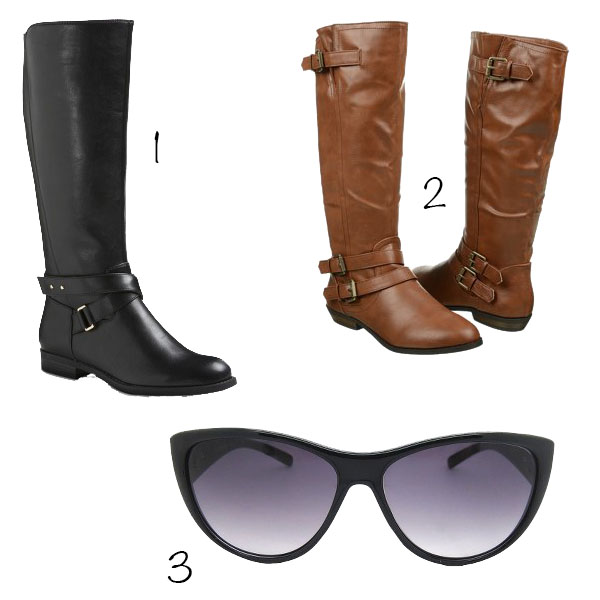 1. Merona "Morgan" boots via Target. I noticed that my black slouchy boots were seriously scuffed on the toes. As in, the toes were wearing through completely. I could have colored them in with marker, but I wanted a boot that a) wasn't slouchy and b) would keep my toes dry if it rained. Problem, solved. | $39.99 {exact}
2. Madden Girl Elsiee boots via Famous Footwear. My cognac slouchy boots were in even worse shape than my black ones. I realized that I wore my cognac boots more than any other pair last year, so I decided to invest in a nicer pair this year. These were a little more than I usually pay for boots, without taking up my whole month's budget. | $69.99 {exact}
3. Sunnies via Target. To replace the identical pair I've been wearing forever, including when riding Perdita the Scooter. The original pair has a lot of scratches, so they've been designated my official scootin' sunnies. | $13.49 {exact, but a different price for some reason}
Grand total with taxes: $133.16. Okay, so it's a tad overbudget. But considering what I got, I'm not at all disappointed :)
Disclaimer: I also bought a dress for my Halloween costume that I might be able to rewear, but I'm not counting it. Because Halloween.
How did you do on your budget this month?
Howdy folks! Taking a quick break from editing my friends' engagement photos to post a little DIY featuring our engagement photos! I knew I wanted to do a magnet save the date, both for the convenience of the recipients and frankly because it's just kinda cool. But when I researched prices from places like VistaPrint, it was just more than I wanted to pay. So when I found this tutorial for DIY save-the-date magnets, I was sold.
I have InDesign, so I figured doing the magnet layout wouldn't be too hard. I was wrong, or more accurately, I severely underestimated my perfectionism; it took me something like two weeks to design the dang thing. But once I finally settled on my fonts, graphics, photos and overall layout, I was ready to go.
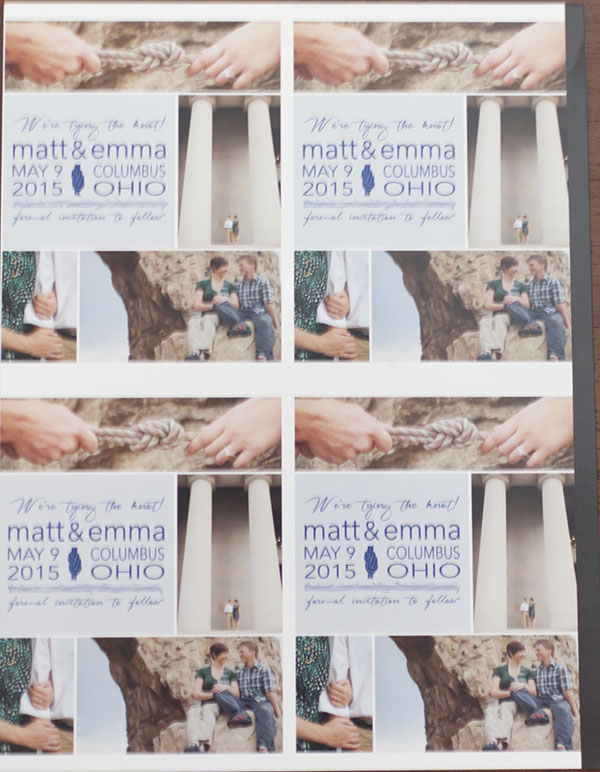
I found a nice paper cutter and some 8.5-by-11-inch sheets of magnet with adhesive backing on Amazon, and found a nice semi-matte paper at Staples. I decided to print on 11 by 17 paper; fewer sheets meant more cutting but a lower cost. So once the sheets were printed, I had this:
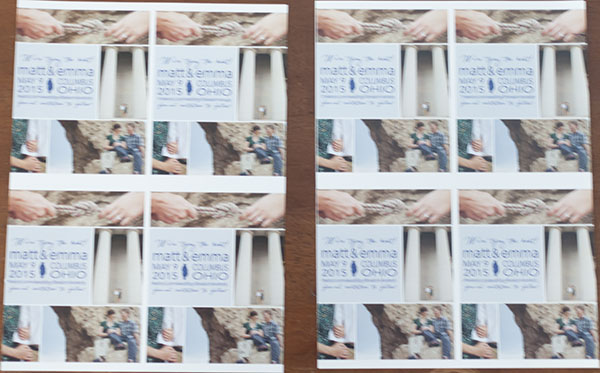
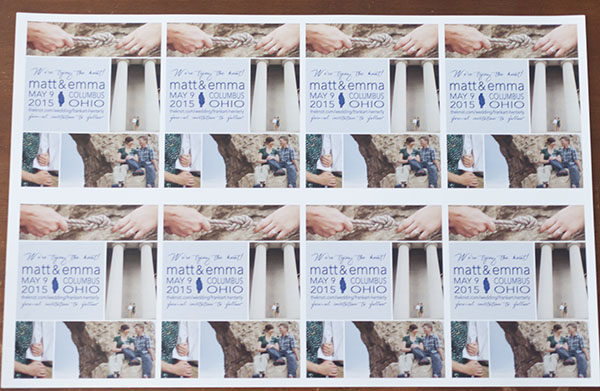 Then I just had to cut them in half, so each 11 by 17 sheet became two 8.5 by 11 sheets:
 Then I peeled the backing off of a magnet sheet and very carefully laid the sheet of save-the-dates on the adhesive side:
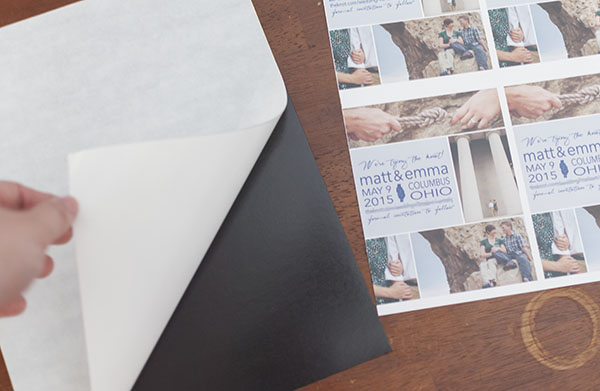
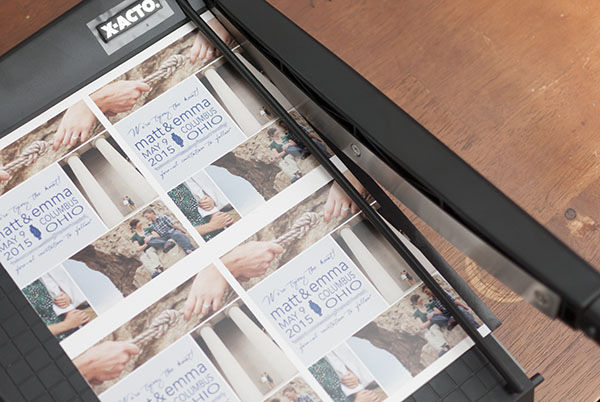
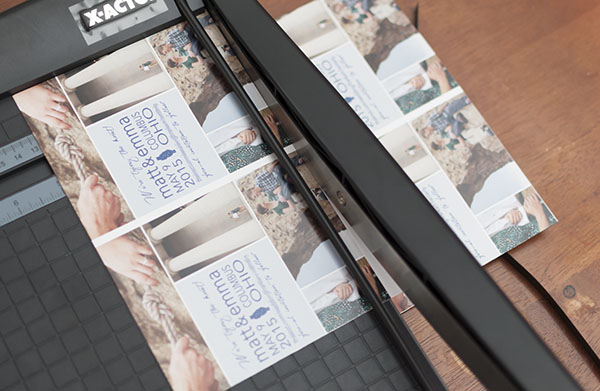
 That actually took a bit of trial and error, but luckily I thought to have extras, so ultimately there was no lost. Then, it was just a matter of cutting out the individual save-the-dates:
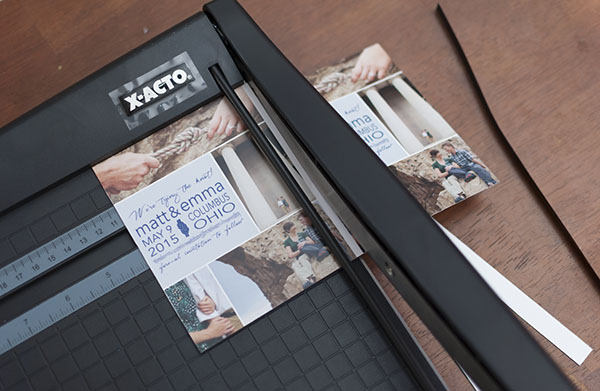 Ta-da!
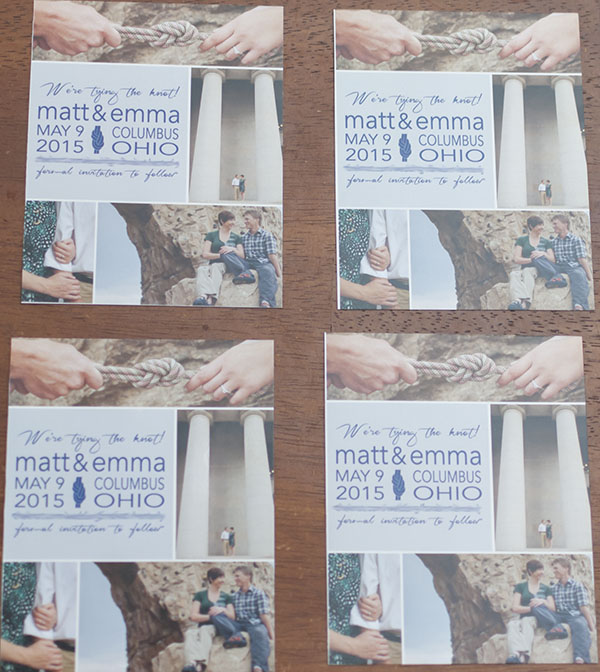 This wasn't quite the end, though. The paper cutter was nice, but it wasn't exact. And to be honest, I was kind of hurrying to get them all done. So I tended to wind up with some imperfect edges:
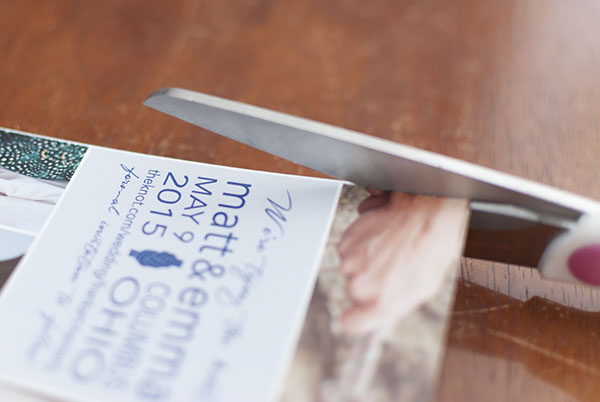
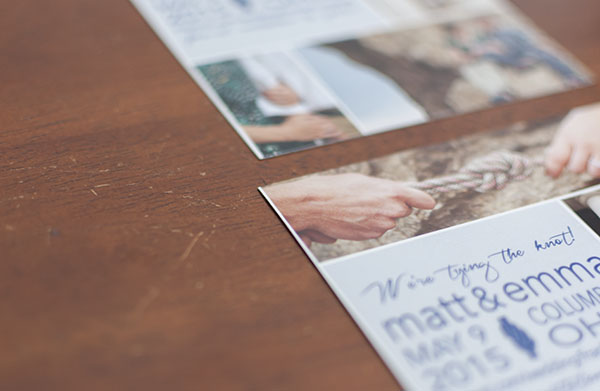 Soooo I just trimmed them by hand with scissors:
 And here they are! Just over 100 save-the-date magnets, all done in an afternoon!
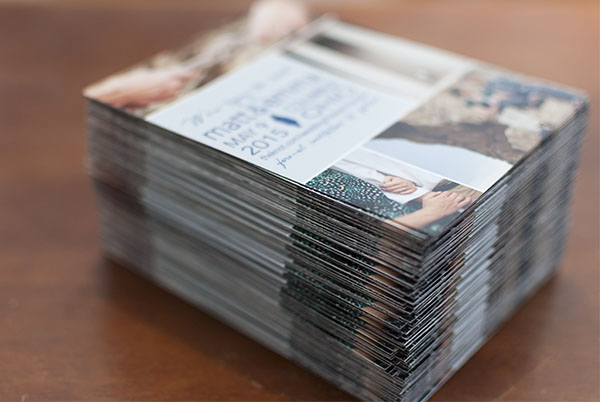 If anyone's wondering, I went with a "tying the knot" theme because Matt and I climb; that's our first climbing rope in the top photo. The shot on the side, with the two big columns, is the Ohio Statehouse — where he proposed :) And the shot in the bottom-right is us at the Scioto Audubon Metro Park, which has the nicest faux-rock wall I've ever seen. Bonus: It's outside, and it's free to use! Oh and I apologize for the blurred line, but I didn't feel like advertising our wedding website — with details on the time and location of everything — in a public forum. #sorrynotsorry
Anyway, there you have it. Easy-peasy save-the-date magnets!
Heyyyy folks...Long time no see! I'm still around and prepping for the insanity that is to come this month, but I thought I'd pop in real quick to shamelessly self-promote the online Jamberry party I'm hosting.
Some background: I first heard of Jamberry just last month, when my friend Kathryn hosted a party. I'll paraphrasing her sentiment on the matter, which I agree with wholeheartedly. Direct marketing sucks. It's a goofy thing and no one likes it. But Jamberry really is a cool product, which is why I'm schilling it here. Also, if just two more nail wraps are purchased before my party closes at 8 pm EST tonight, I get free stuff. So, full disclaimer there. I like free stuff.
So what is Jamberry? Basically, it's a nail wrap. A sticker thing you put on your nail. It lasts for up to two weeks (depending on how fast your nails grow). I'll admit, I was skeptical at first. Anything that claims to stay on your nails for two weeks typically tends to spend half the time on my nails. I have oily nail beds or something. Even a gel manicure didn't last longer than a few days for me! But these things, oh man. Jamberry nails really do last. My Jams typically last me 10 days, at which point my super-fast-growing nails make them look a bit silly. But in that 10 days? I rock climbed four times, one of them on real rock outdoors, and I saw nary a chip or peel.
These nail wraps really are that good.

The Jams I've bought so far, clockwise from top-left:
Vintage Chic, Sweet Nothing, Birds of a Feather, Midnight Celebration.
Other fun info you might like to know: Each sheet should get you two manicures AND two pedicures...unless you have crazy-big nails or something. They're non-toxic, vegan, and gluten-free. (So those with super-high gluten sensitivities won't be affected by them touching your skin/nails.) To apply: peel one off the plastic backing, stick a teeny edge of it on an orange stick or cuticle pusher, heat it over a hair dryer for a few seconds (like, five MAX), then just gently press it down onto your nail. You trim the excess with nail clippers or manicure scissors. To remove them: just soak a cotton ball in regular nail polish remover, soak it over the wrap for a few seconds, then use the orange stick/cuticle pusher to gently lift it off. Fun fact: You can also use coconut oil!
Bonus: If you buy three, you get one free!
If you're having trouble figuring out when the nails might look like on a real hand, you can search #(wrapname)jn on Instagram. Right now, I'm wearing Vintage Chic. So if you wanted to see my photo of that, and literally hundreds of others, you could search #vintagechicjn on Insta. (JN = Jamberry Nails, natch.)
Soooo if you want some sweet mani/pedis, head over to the site and select "Emma" at checkout.

Just some of the Jams I want to get soon!
Top row: Icy Boysenberry Polka and Boysenberry Chevron; China Rose Tip and China Rose.
Middle row: Urban Lights and Gilded Leopard; Puppy Love and Bright Noise.
Bottom row: Flirty Flair, Glam, Pumpkin Spice.
The legal stuff: I was not paid for this post and it is not sponsored by Jamberry. I really, truly like the product. I hosted a party and wanted to get some extra sales so I could be eligible for freebies. Views and opinions are my own.


