
I have InDesign, so I figured doing the magnet layout wouldn't be too hard. I was wrong, or more accurately, I severely underestimated my perfectionism; it took me something like two weeks to design the dang thing. But once I finally settled on my fonts, graphics, photos and overall layout, I was ready to go.
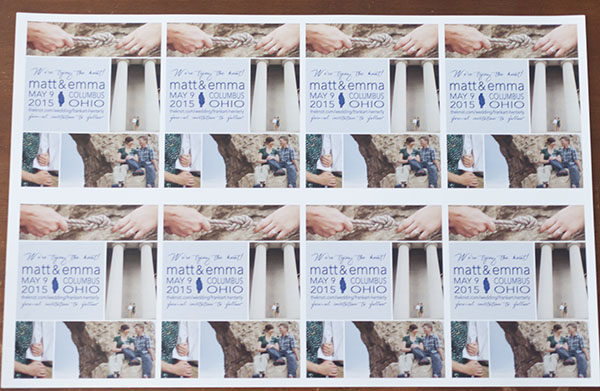
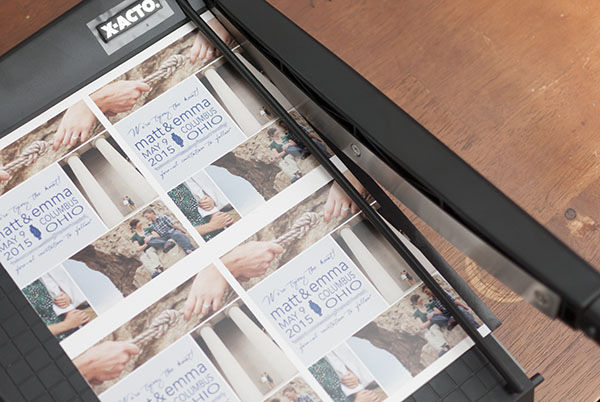
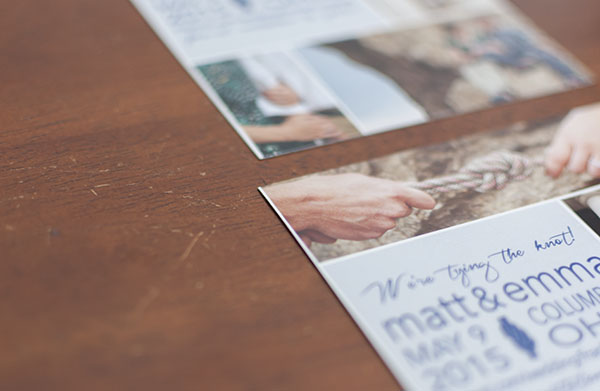
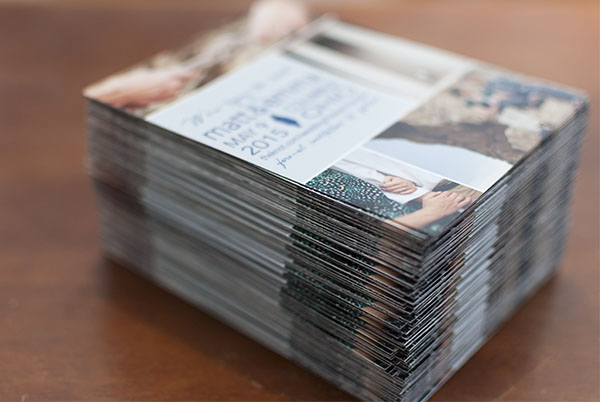
I found a nice paper cutter and some 8.5-by-11-inch sheets of magnet with adhesive backing on Amazon, and found a nice semi-matte paper at Staples. I decided to print on 11 by 17 paper; fewer sheets meant more cutting but a lower cost. So once the sheets were printed, I had this:
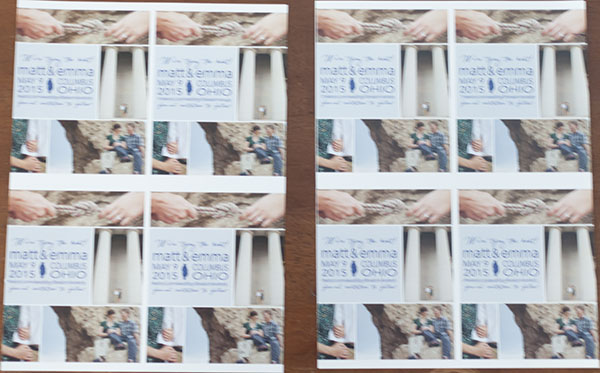
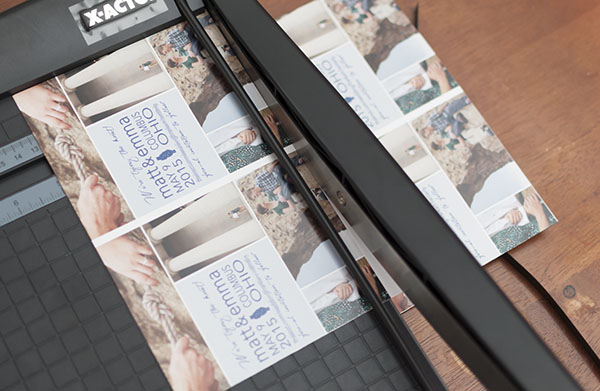
Then I just had to cut them in half, so each 11 by 17 sheet became two 8.5 by 11 sheets:
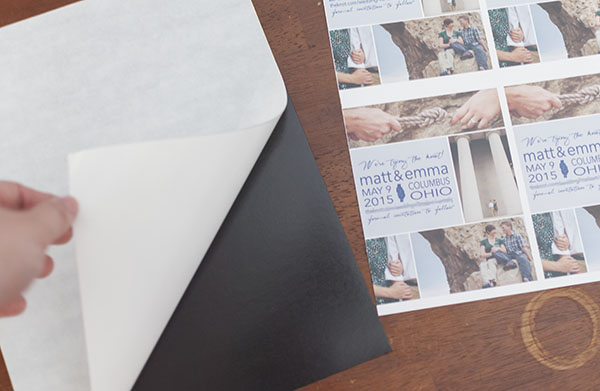
Then I peeled the backing off of a magnet sheet and very carefully laid the sheet of save-the-dates on the adhesive side:
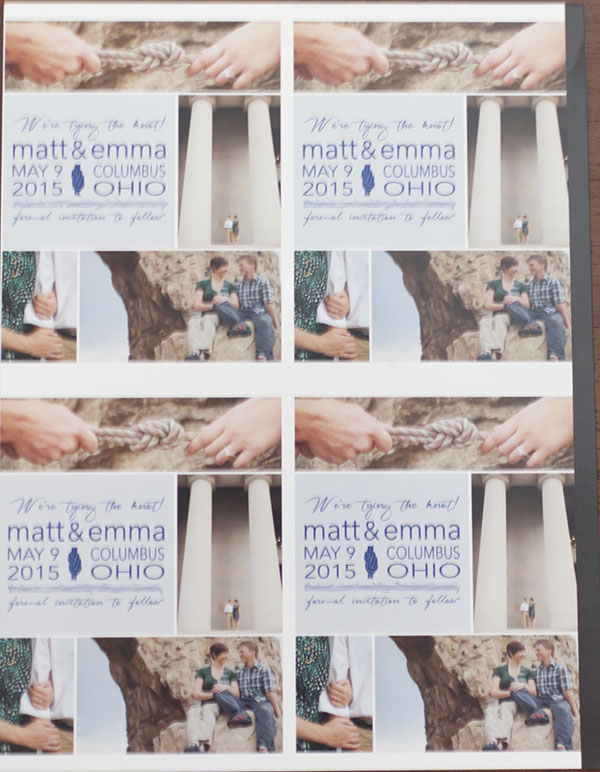
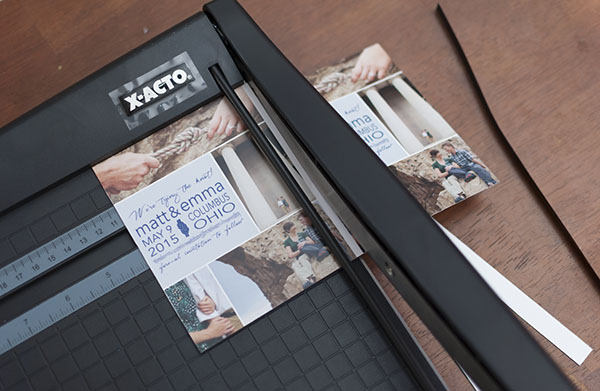
That actually took a bit of trial and error, but luckily I thought to have extras, so ultimately there was no lost. Then, it was just a matter of cutting out the individual save-the-dates:
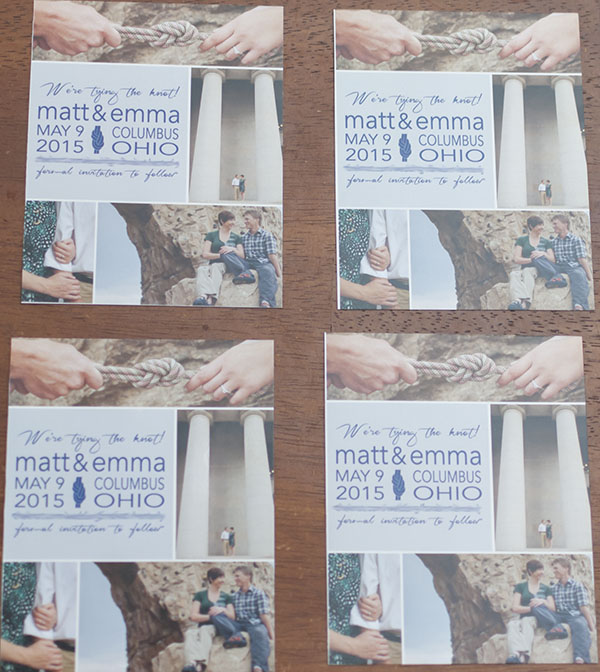
Ta-da!
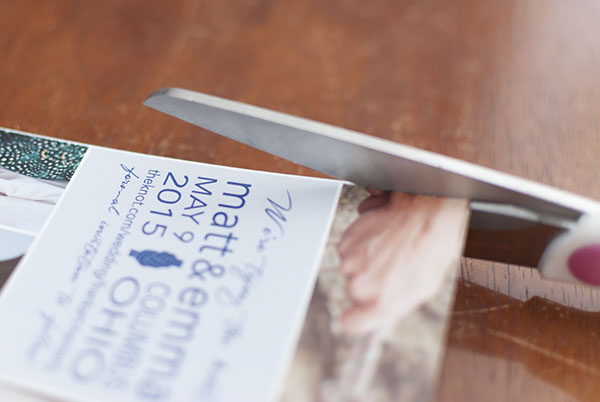
This wasn't quite the end, though. The paper cutter was nice, but it wasn't exact. And to be honest, I was kind of hurrying to get them all done. So I tended to wind up with some imperfect edges:
Soooo I just trimmed them by hand with scissors:
And here they are! Just over 100 save-the-date magnets, all done in an afternoon!
If anyone's wondering, I went with a "tying the knot" theme because Matt and I climb; that's our first climbing rope in the top photo. The shot on the side, with the two big columns, is the Ohio Statehouse — where he proposed :) And the shot in the bottom-right is us at the Scioto Audubon Metro Park, which has the nicest faux-rock wall I've ever seen. Bonus: It's outside, and it's free to use! Oh and I apologize for the blurred line, but I didn't feel like advertising our wedding website — with details on the time and location of everything — in a public forum. #sorrynotsorry
Anyway, there you have it. Easy-peasy save-the-date magnets!
Beautiful! And more meaningful since you made them yourself. Take pride in this.
ReplyDeleteThank you! I do :) I had a few people compliment me when they received them and I practically shouted back, OMG THANK YOU I MADE THEM!!!
ReplyDelete