
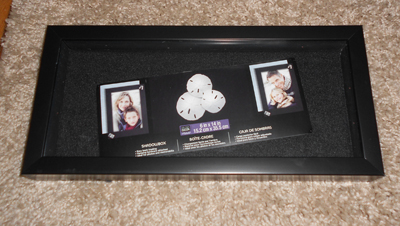
Anyway. Today's Pinspiration is basically a knock-off of this Ikea wall art, which I discovered on a recent trip with my friends Emily and Stephanie. Emily actually bought the piece, and I really wanted to, but I didn't think purple butterflies would really jive with Matt. Aren't I the considerate girlfriend?

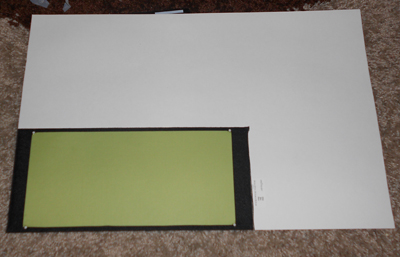
So instead of this super-girly motif, I decided to DIY a similar project. With leaves and green instead of butterflies and purple. So I stopped by Michael's and picked up a shadowbox frame, a piece of white card stock and a piece of green scrapbook paper. Total cost: about $15.
I then cut a piece of the green paper down to fit the back of the frame. It was actually a bit too short, but that's okay because I wanted a thicker border on the top and bottom. I also cut a piece of cardstock to the exact size of the backing. I pinned the green paper to the back using some included push pins.

Then I asked Matt to draw the vine/leaves. Because I am a terrible drawer. I think I frustrated him a bit, because I'm also a terrible explainer and we went through a few drafts before we got to a sketch I liked. It was actually a bit different from what I originally wanted, but I liked his version better! I had him draw the final sketch on the back side of the paper, so no pencil marks would show on the front.
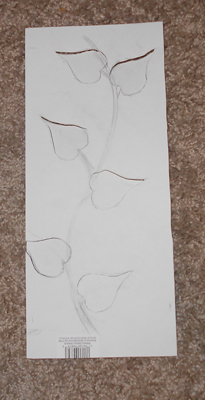
Then I used an Exacto knife to cut out only the leaves, making sure to keep them attached at the bottom, where they connect to the vine. Note: A sharp Exacto knife is preferable here, particularly with thick cardstock. My dull blade was kinda janky. And hard to work with. Note #2: Put a piece of cardboard under the cardstock as you're cutting. Your carpet/hardwood floor/table will thank you. A plastic cutting mat from a craft store is also useful.
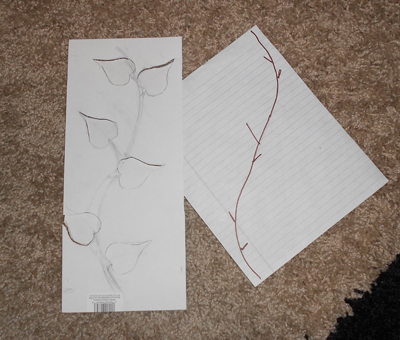
Next, I traced over the stem part of the sketch on a piece of notebook paper (on the right in the above image). I used a relatively thin paper and first just traced in pencil, then went over it in permanent marker. Then, I flipped both the cardstock and the notebook paper. That gave me a mirror image to help me draw the stem on the outward facing side of the card stock.

Then, I folded the leaves upward and bent them a little to help them stick out from the surface of the paper.
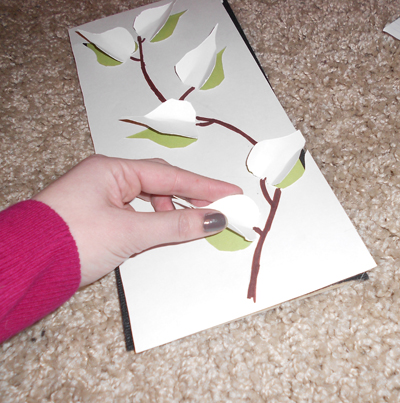
From there, I just had to drop the cardstock into the shadow box frame, with the leaves pointing out toward the glass...

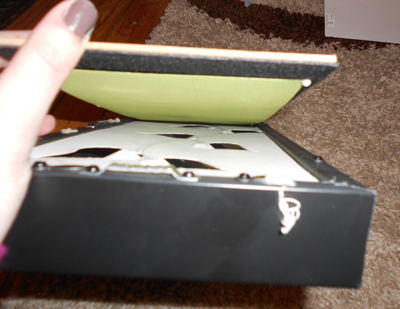
...place the frame backing with the colored paper pinned to it over the cardstock, and replace the little hook things that keep the back of the frame in place.
And here it is! I really love the final result, and I know this is corny, but I like that Matt and I kinda worked together to make it :)
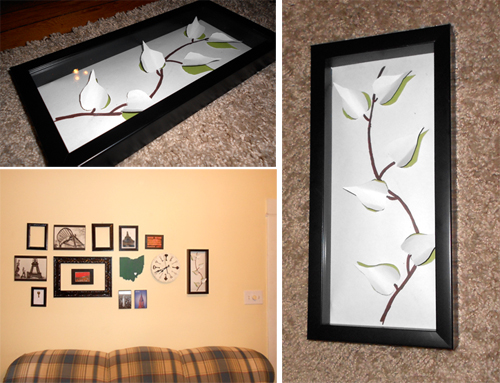
Now I'm just itching to finish this gallery wall. We had to shift our couch a little when we got our new entertainment center, making the whole arrangement off-center from the couch, which drives me crazy. I don't feel like removing all the frames, patching up the holes, repainting, and then rehanging all of those pictures. So the only solution is to make it bigger, obvs. This is gonna be fun :)
You need an etsy store. Your version of my IKEA art is amazing!
ReplyDeleteyou go girl!
ReplyDelete