So I recently decided to go back on the rotating-menu plan for dinners each week, mostly because I was getting sick of the "What do you feel like tonight?" "I don't know, what do you want?" "I don't know, wanna just get take out?" routine. So a few weekends ago, I took several hours and planned out six weeks' worth of menus with some new recipes to try and, of course, some new favorites. One of the new recipes is this penne dish, from a junk mailer I got once called Fine Cooking Magazine. And oh-my-freaking-gosh you guys. This dish. Is. The. Bomb.
 Best of all, it re-heats really, really well. So I can make this full four-serving recipe, then have enough leftover to eat for lunch the next day. Score!
Ingredients:
- kosher salt, pepper
- 8 oz. fresh baby spinach (about 10 lightly packed cups)
- 1/4 to 1/2 cup coarsely chopped walnuts (adjust according to taste)
- 12 oz uncooked penne (about 3 1/2 cups)
- 3/4 cups heavy cream
- 1/2 cup crumbled gorgonzola
- 3 tbsp chopped fresh chives
Make sure there's a rack positioned in the center of your oven, then preheat to 350 degrees. While it's heating, bring a large pot of water to a boil and salt generously. Put the spinach in a colander in the sink.
Spread the walnuts out evenly on a baking sheet and toast until dark golden-brown, about six to eight minutes. You'll be able to smell them when they're ready. Oh man. I just started drooling. When they're done, set aside to cool.
Cook the penne to al dente. Reserve about half a cup of the cooking water, then drain the pasta in the colander over the spinach. This, and the hot pasta lying on top of the spinach for the next few minutes, actually cooks the greens. How cool is that?
Add the gorgonzola and cream to a 10- to 12-inch nonstick skillet over medium-high heat and bring to a gentle boil. Add pepper to taste, as well as a pinch of kosher salt. Cook, stirring frequently, until the mixture is slightly thickened and the gorgonzola is mostly melted. It should take about two to three minutes.
Reduce the heat to medium, add the pasta and spinach, and stir to coat. Add half of the walnuts and chives and stir again to combine. Cook until the pasta absorbs some of the sause, about two minutes more. If the mixture gets too thick, add some of the reserved cooking water to loosen it up. Season to taste with salt and pepper, if needed. Dish out into serving bowls and top with the remaining walnuts and chives, and try not to wolf it down like a starved person. (Trust me, it's harder than it sounds!)
Okay guys, after a little technical snafu, we have a giveaway winner! And it's....Ashley!
a Rafflecopter giveaway
Congrats, Ashley! Check your email, as the folks over at Jada's Jewels will be sending you your $25 coupon/gift certificate code shortly.
 So I was super excited to announce the winner of the Jada's Jewels giveaway today...but it seems that technology has failed us. We're having some issues with Rafflecopter and the two mandatory entry methods, and with the whole sign-up-for-the-website-using-a-special-URL thing. I emailed the people who somehow managed to enter without doing both mandatory entries, and am still trying to figure out how Rafflecopter let that happen. (Franziska and Christa, check your emails por favor.) And in the meantime, the Jada's Jewels folks and I are working to confirm the website signups. So hopefully, I'll have a winner posted before the end of the week. Fingers crossed.
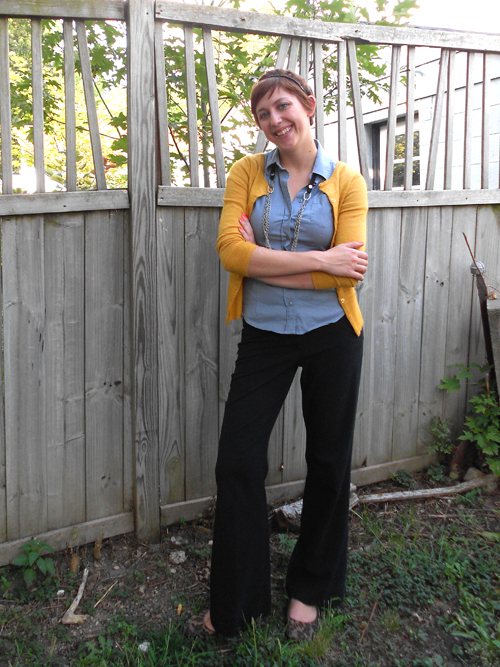
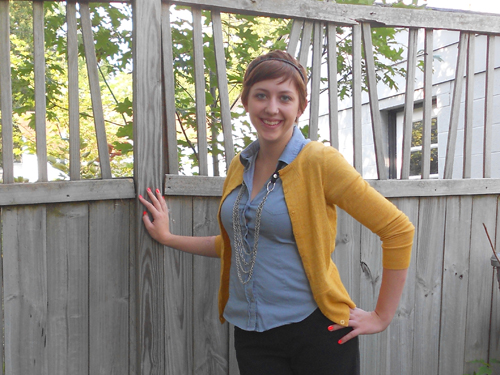
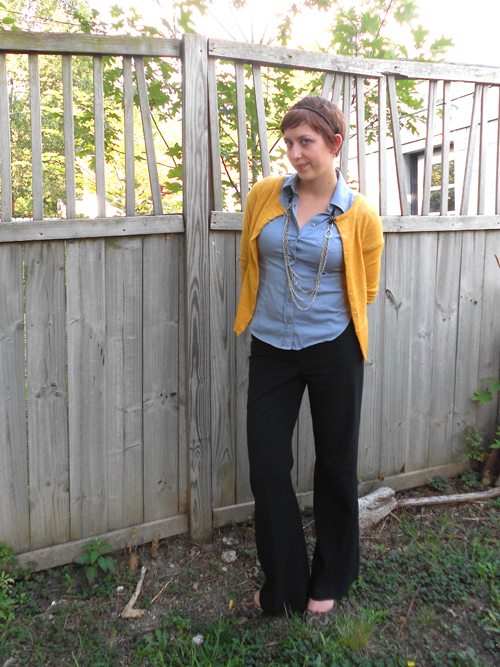
And since I don't want to completely suck this week (after a Pin-spiration Monday fail and completely forgetting to do my Food Fridays post at the end of this week), here's an outfit, too. Woo?
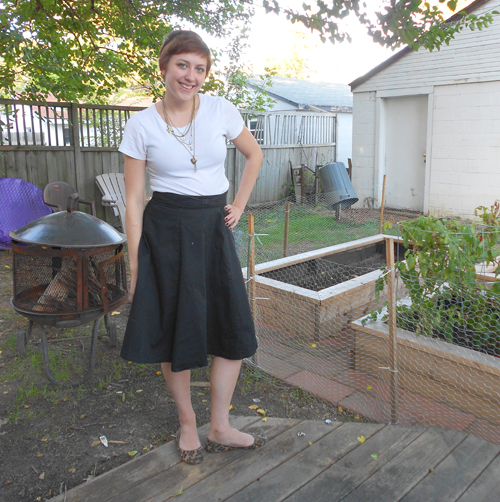
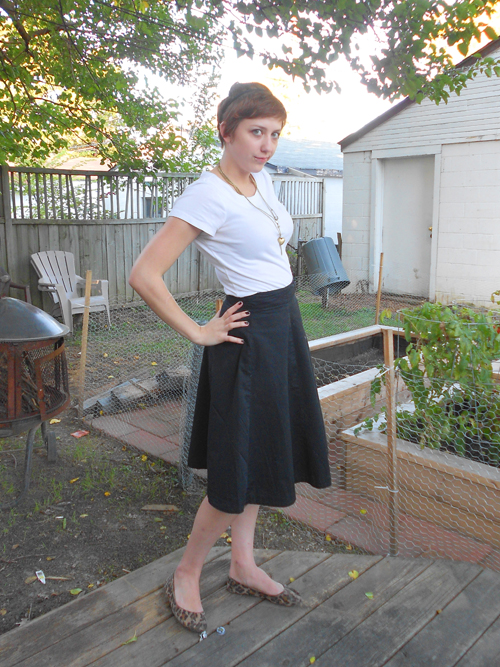
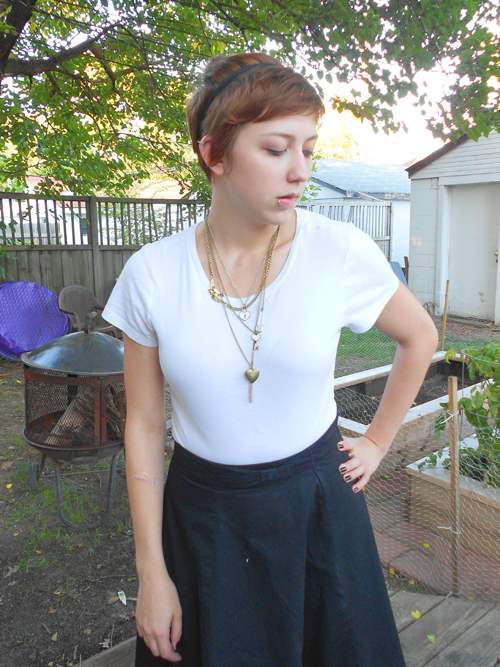
t-shirt: Old Navy
skirt: H&M
flats: Target
necklace: Figleaf
It's been getting a lot colder here the past week or two, so this outfit might be my last bare-legs/warm-weather one for a while. Super sad about that. While I love fall fashion (layering and boots and sweaters!) and other fall things (cider and chai tea and Halloween!), I really, really hate the cold. A lot.
But fall also means a new season of all my shows...I have quite a lineup this year. How I Met Your Mother, Modern Family, New Girl, Glee, Grey's Anatomy, all my favorite animated sitcoms like Family Guy, South Park, etc., and finally maybe a few new shows. The Mindy Project, anyone?
(Don't judge me by the vast amount of TV I watch. Usually I'm multitasking while watching. I work on blog stuff, or watch while eating dinner, or I hang out with the girls upstairs and we make a girls night of it. I promise, I'm not a total couch potato!)
Ok, I'll be the first to admit that this week's Pin-spiration is a bit of a complete cop-out. But with good reason! I have a few bigger projects in mind, and it's taking longer than I thought it would to gather supplies and, you know, find time to actually complete the thing. And this weekend is another wedding (the last of the year, thank goodness), so I probably won't have much time to work on projects then, either. So we'll see what happens ;)
So anyway, I did attempt a recipe Pin for this week. And it was an epic, unforgivable, inedible fail. Here's the inspiration:
Looks delicious, doesn't it? Creamy and cheesy and, according the original source, an easy microwaveable cup of yum. Here's how mine turned out:
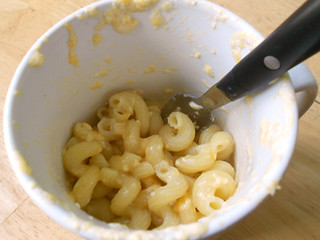 What unholy terror has my microwave produced?! It's chunky, not creamy, and the cheese looks like little curds of gross. Not to mention, the cup boiled over multiple times, turning my microwave into a gloopy, slimy mess. I'm not quite sure what went wrong here, as I followed the source's directions to a T. Ick. I guess there's always next week?
In other, non-disgusting news, you still have one day left to enter my giveaway for some free jewelry? Helloooo, what are you waiting for?!
Every once in a while, the folks at eShakti contact me to offer an item sample for me or a discount code for my readers. This month, they went all out and did both! Free swag for me and a bonus perk for you guys? Love it.
If you're not familiar with this online shop, let me give you the quick rundown. (Otherwise, skip to the next paragraph? Or read this one. Hey, who am I to boss you around?) It's this awesome online store that features a great array of skirts, dresses, tops, etc etc. My favorite thing about it, though, is that you can custom-order any item they sell with your exact measurements. For someone like me, who has really broad shoulders, really slim hips and really long legs (I'm like a weird isosceles triangle), this is a major blessing. And the custom-sizing options are FREE, and include the ability to adjust sleeve and skirt length, when applicable. So really, the store is about quality clothes that are custom-made to your measurements...and what more can a girl ask for?
For my sample, I was allowed to pick anything from the store's new fall line. It was NOT an easy decision, let me assure you, but I decided on this dress, with my own custom measurements of course. And I lurrrrve it! It's a little big in the bust, I think, but let's be honest: Matt helped me get all my measurements using a scrap of measuring tape that didn't go all the way around my chest. It's highly possible that one (or both) of us used just a little too much wishful thinking when measuring that part, haha!
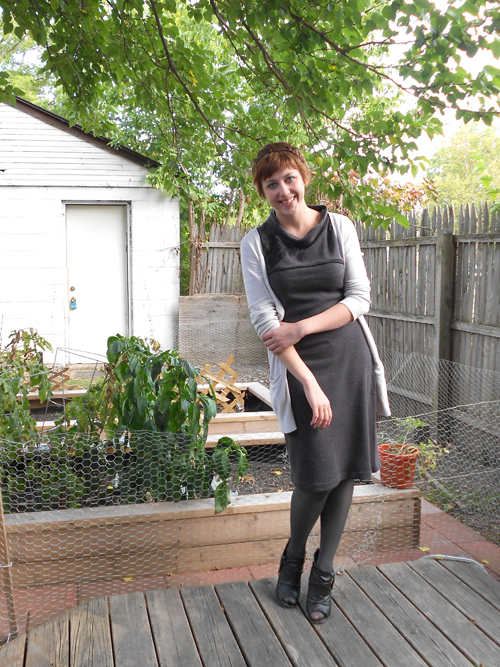
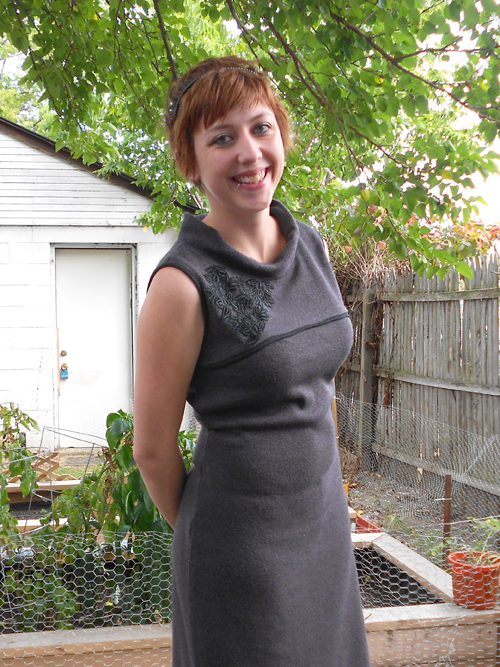
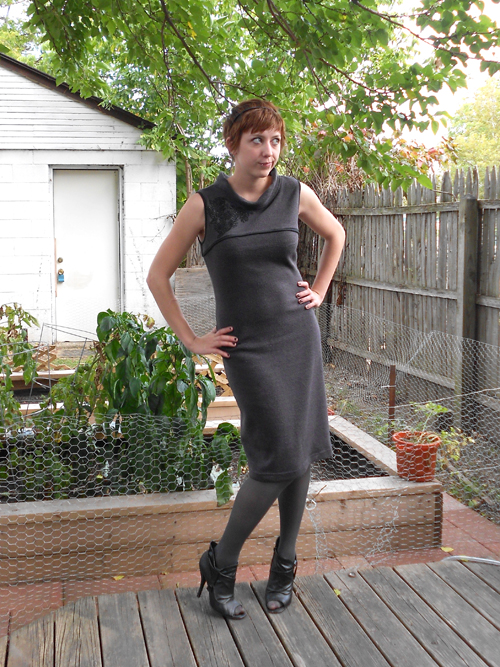
cardi, tights: Target
dress: c/o eShakti
booties: Burlington Coat Factory
And, as promised, here's that coupon code. Unfortunately, it's only good for those who have never made a purchase from this store before, but if you've been looking for an excuse to try the place out, well, here it is! Just use the code below to get $25 off your first purchase between now and the end of the year. Cha-ching!
 And hey, since you were cool enough to read all the way down here, you should probably make sure you enter my giveaway, too!
Disclaimer: eShakti sent me this dress, free of charge, in exchange for my fair and honest review. All opinions stated here are, in fact, my fair and honest opinions. As for the coupon code, I get a little shopping bonus (basically, an eShakti gift certificate) each time someone uses it. But don't let that stop you ;) In fact, feel free to share it with your friends, too!
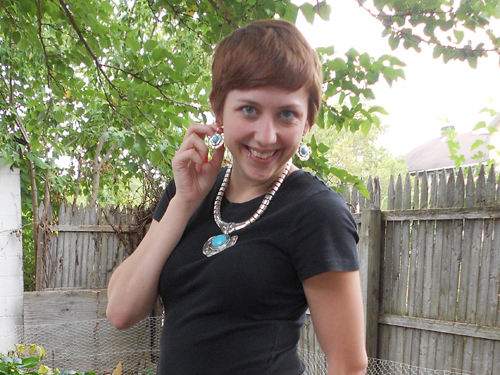
I'm super excited to announce an awesome giveaway! I'm collaborating with Jada's Jewels to give away a $25 gift card for their site. It might not sound like much, but I promise you, on this site $25 will go a long way! They're based here in Columbus, which is awesome, so I got to meet up with Marketing Intern Allison. That was cool because as a blogger, you rarely get to real-world interact with people you work with. It was also cool because she brought a present! It was the jewelry and earring set I'm wearing here:
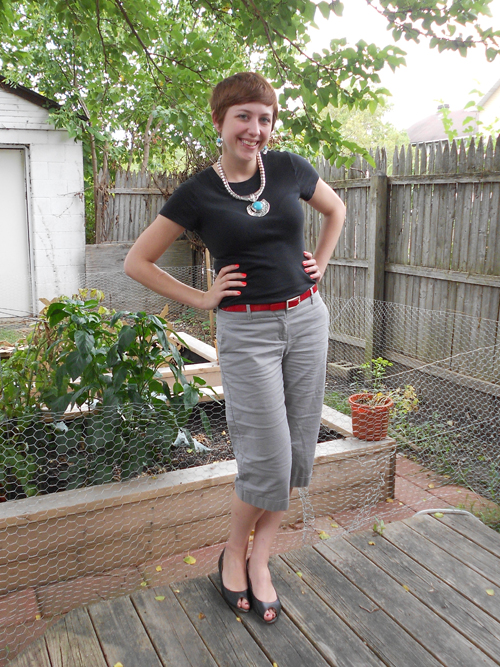
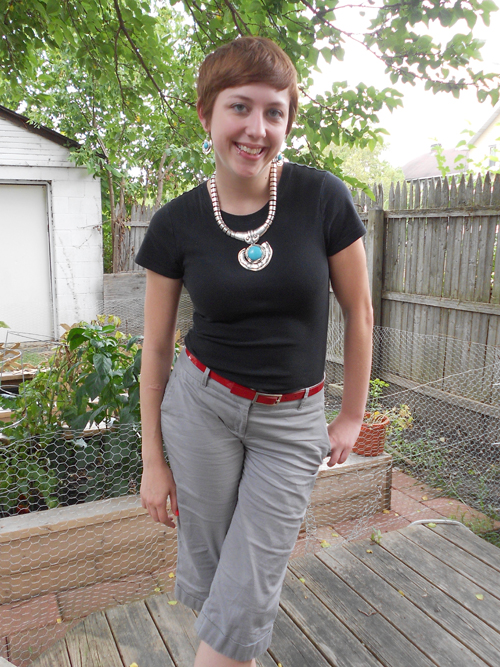
shirt: Old Navy
cropped pants: The Limited
shoes, belt: Target
necklace, earrings: Jada's Jewels Update: This should say "c/o Jada's Jewels...my bad, guys!
I freaking love the jewelry. It looks really heavy, but it's not. Score. And there's new stuff on the website every day...and there's something new I want just about every day, too, haha! Good thing it's all affordable :)
Ok, so I'm using Rafflecopter for the first time on this giveaway. That means no commenting! I mean, you can comment if you want, but it won't count as an entry. Hopefully this will be easier for everyone :) There are two mandatory entries, 11 extra entries, and an additional option that's worth TWO entries, that you can do every single day of the giveaway. So really, you can enter up to 29 times. Bam.
a Rafflecopter giveaway
Before I get started with this week's Pin-spiration, I just wanna tease a few awesome things coming up this week. First, I just made/devoured a DELICIOUS dinner, so there's a Food Friday to look forward to. The first since July, in fact. Womp womp. Also, I got a lil somethin' somethin' in the mail from eShakti today, so expect a product review soon. But most excitingly, I have a sweeeet giveaway lined up for tomorrow! So that's pretty awesome. Make sure you come back tomorrow evening and ch-ch-check it out.
Okay, anyway. Pin-spiration time! Inspiration on top, my take on it below (if you want the original pins, just click either of the top photos).
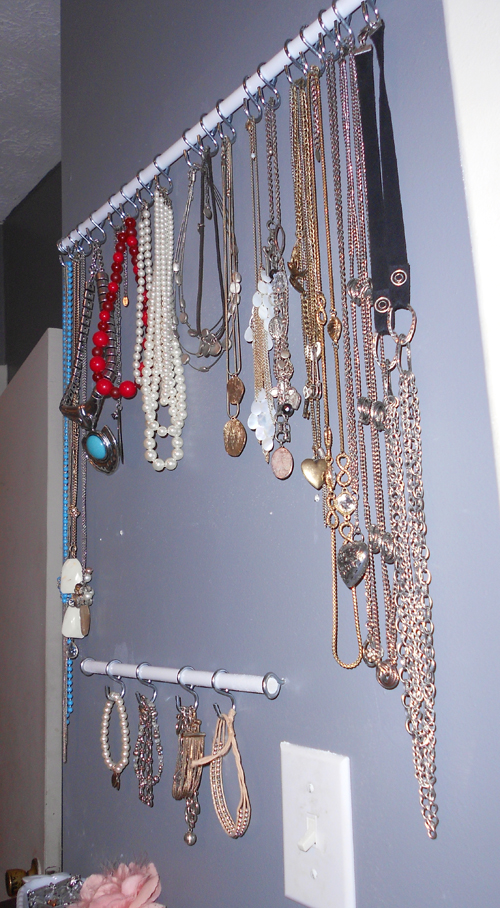 Just for reference, here's how it looked before:
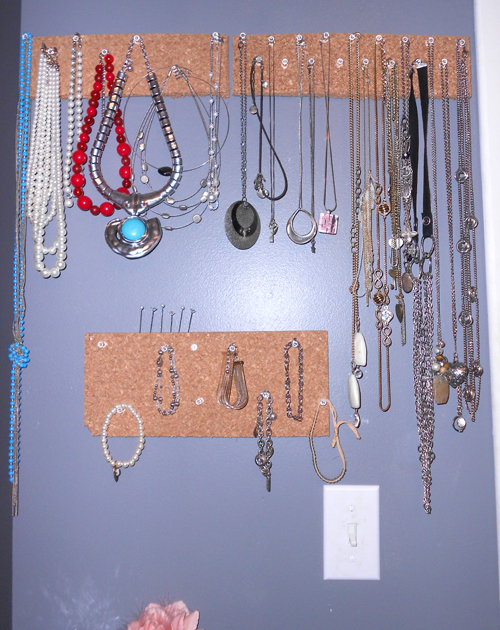 So, functional but ugly. A re-do was definitely necessary. This was yet another "I'll just kind of wing it and see how it turns out" pins. (Are you noticing the trend here?) I went to Lowe's and bought a couple of 1/2 inch dowel rods, a pack of 1-5/8 inch screw eyes, and several packs of 1-5/8 inch s-hooks.
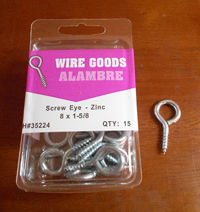
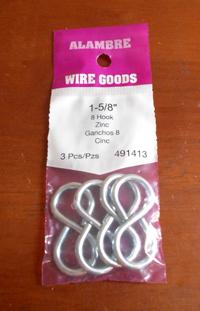 I cut the dowel rods to the size I wanted them with our circular saw, which was actually pretty terrifying, then sanded down the raw edges. As it turns out, the dowel rods were just the tiniest bit too thick for the screw eyes, so I sanded them down a little more to fit in the hole. Then I spray painted them...guess which color...white. While they were drying, I bent the s-hooks open a bit so I could hang my jewelry on them without opening the clasps every time. That proved to be pretty difficult with just a pair of needle nose pliers alone, but when I gripped the hook in one set of pliers, then pried them open with the other set, it went pretty quickly. There were nearly 30 of them though, and my hands are still sore :(
Anyway, after that, it was an easy enough process. I just measured out where I wanted to hang the bars, drilled some pilot holes with a drill bit, and screwed the eye screws into the wall. (If you're doing this yourself, it's important to remember that you should drill the pilot holes smaller than the screw itself; that gives the screw something to hold on to in the wall.) Then, I just threaded the bent s-hooks onto the bar and slipped them into place. Voila!
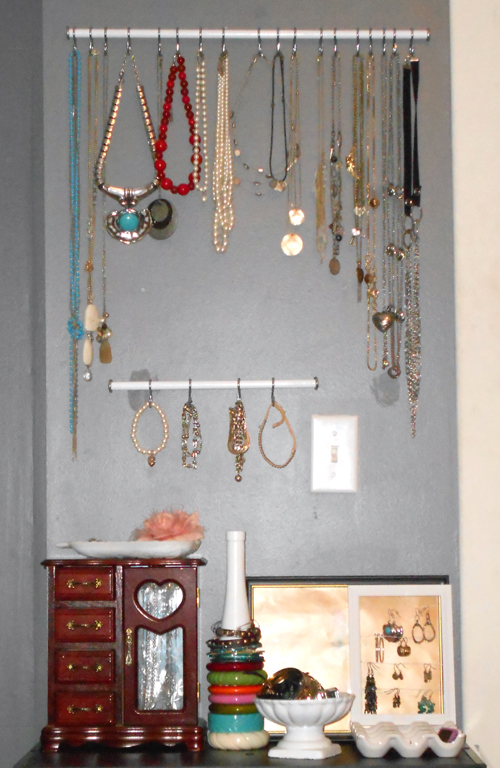 I'm thinking about getting some sort of mirror piece for the top of my dresser, but I haven't decided yet. All I know is that black-ish wood does NOT jive with the stain on my jewelry box. Eh. We'll see what happens. In the meantime, don't forget to come back tomorrow and enter to win some jewelry :)
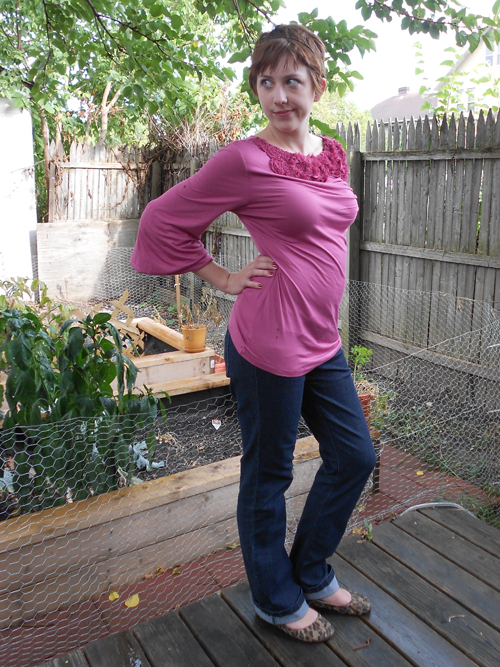
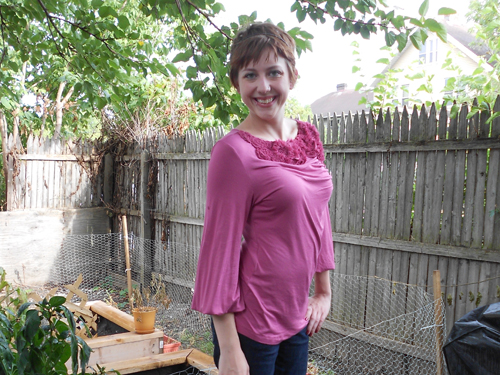
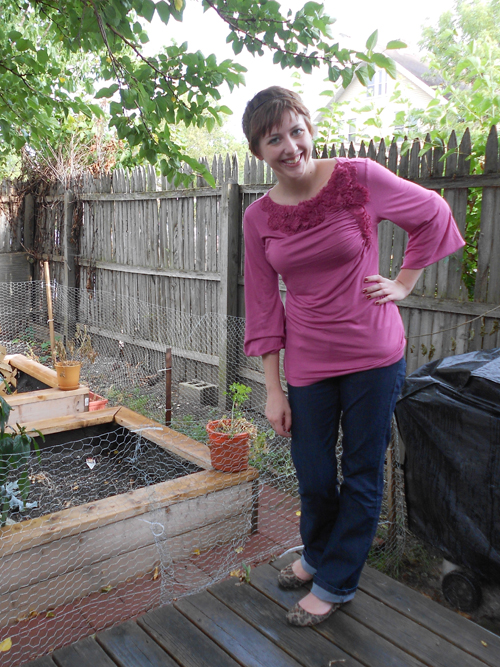
shirt: secondhand
jeans, flats: Target
Oh man, you guys. I can barely keep my eyes open to type right now, and it's not even 8 pm. Work has been absolutely brutal this past week or two...the fiscal year and biennium are both drawing to a close, so all of my agency's offices are writing up their budget requests for the next biennium...and sending them to my office for proofing. My boss and I have been through something like 40 requests, and it doesn't sound that hard, but it has just been physically draining for me.
Do you remember back in high school or college, when you were writing a paper but came up a few hundred words short of the minimum word count, so you repeated yourself and turned phrases like "X caused Y" into "The ramifications of X were numerous, ultimately resulting in the effect of Y" like it was your job? Yeah, it's kind of like reading essays like that. All. Damn. Day. Professors, teachers and TAs have my ultimate respect...right now, I'm so brain dead I can hardly think.
So my friend at work gave me this shirt, tags still on and everything. It's pretty cute, but I think next time I'll have to wear a bra with less push-up...the gals are looking pretty prominent here, haha. Ugh. Now I'm blogging about my boobs. I need a nap. Or maybe just a super early bedtime...
I would like to start this blog post by saying that I had this whole damn thing typed up and coded, and then I lost it because Blogger doesn't autosave any more. So I'm probably going to be a bit short here, but sorryI'mnotsorry.
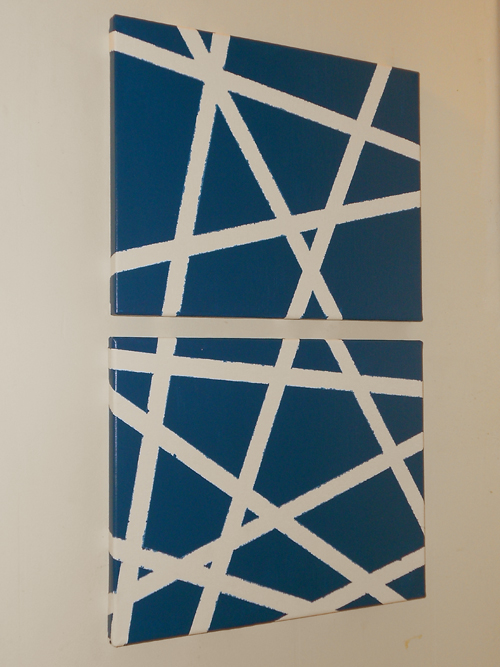
So. To summarize what I just pointlessly typed up, Matt and I recently painted an accent wall in our bathroom. I decided to make some bathroom art to hang on the opposite wall, using the accent wall's color. So naturally, this project was the first one to come to mind:
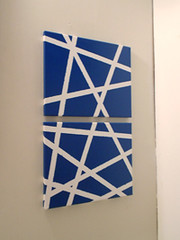 All in all, it was a pretty easy project. The only supplies were the two canvases, some masking tape, my leftover wall paint, and a painting utensil. Originally, I was using a foam roller. But that wasn't playing nice with the canvas, so I switched to a plain old wall paintbrush.
I was kind of but not really surprised by how much the canvas bled. It makes sense, I suppose, but based on the original pin, I guess I wasn't really expecting it.
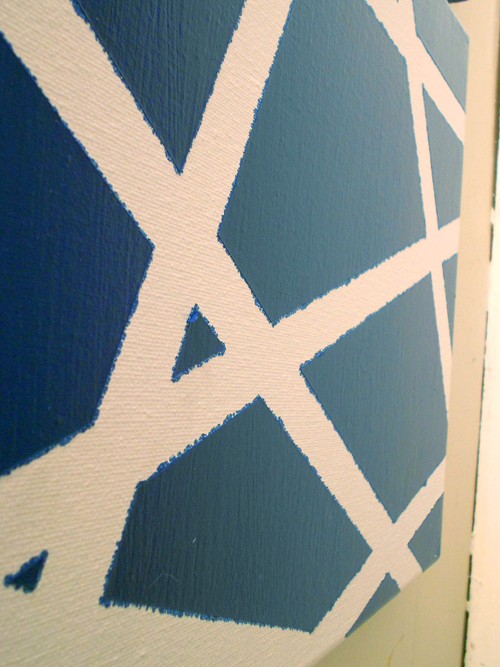 Anyway, I'm really pleased with how the whole thing turned out. It's hanging above my toilet, so I'll spare you the wide shot. There's a floor-to-ceiling cabinet to the right, and the sink/mirror is to the left. We decided not to paint this wall because it didn't seem worth the effort to move/detach the sink, mirror and toilet to paint, knowing we'd have to do it all again and paint back to white when we move out in a year or two. But still. Now we have an accent wall! (It's the wall directly opposite this one.)
I made another art addition in the bathroom, too. My bud Sydney of Take Me For A Twirl took a cool umbrella shot a while back, and I emailed her to ask if I could get a copy to use for art. (Funny story, that was our first interaction besides complimenting each other's outfits via blog comment.) Anyway, I tweaked the color a bit, then created desaturated versions of the original and lined them up from brightest to palest.
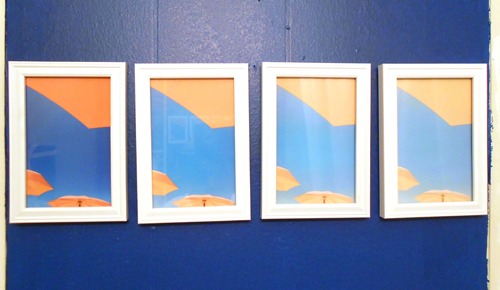
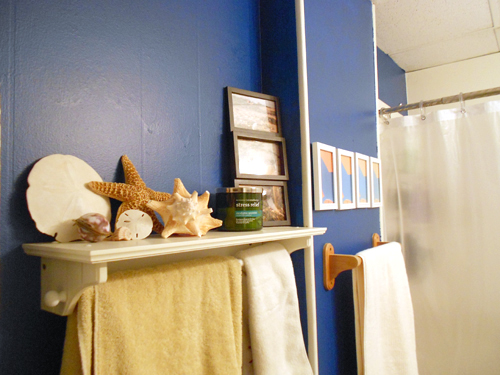
It's hanging above my towel rack and really lends to the beachy theme of the rest of the bathroom. Thanks, Syd, for letting me use your photo! And just for the heck of it, here's a wide shot with the rest of the beachy decor. The shells are from various vacations I went on as a kid, and the three beach photos (which are kind of hard to see here) were taken by my friend Emily. (The same friend whose Eiffel Tower photo is hanging on my living room wall. Hey, I know what I like.)
So. I officially deem today's Pin-spiration Monday a success. Onward!
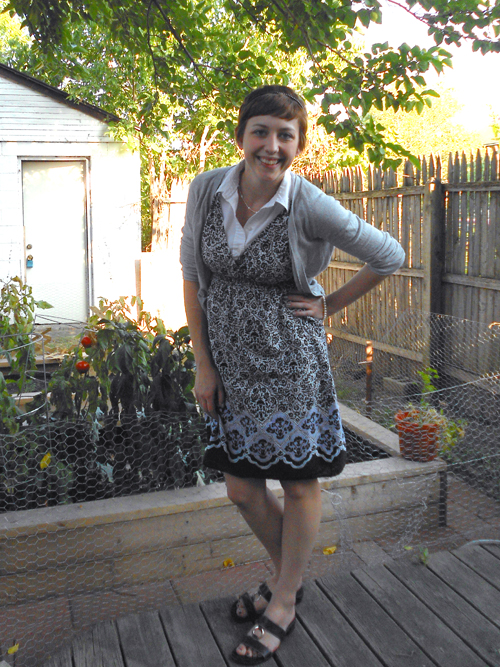
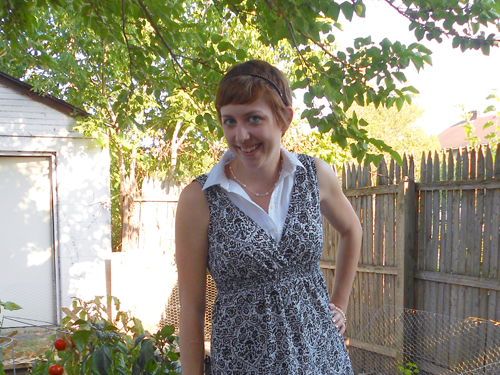
dress: gifted
sleeveless collared shirt: New York & Company
cardi: H&M
shoes: secondhand
necklace: Target
bracelet: Forever 21
Sorry if you're tired of hearing (reading?) this from me, but my office is COLD. Like, keep-a-heavy-sweater-in-your-cube cold. Once, I wore a skirt and long sleeves, and wound up having to wrap my sweater around my legs and tie the arms in a knot to keep it in place. That. Cold.
Anyway, the best way to handle such frigid temps when it's 90 degrees outside is, of course, layers. I just throw a non-wrinkle-prone cardi in my bag with my high heels, then throw it on when I get to work and switch my comfy shoes for my actual shoes. (Hey, walking around downtown in four-inch heels is NO FUN.)
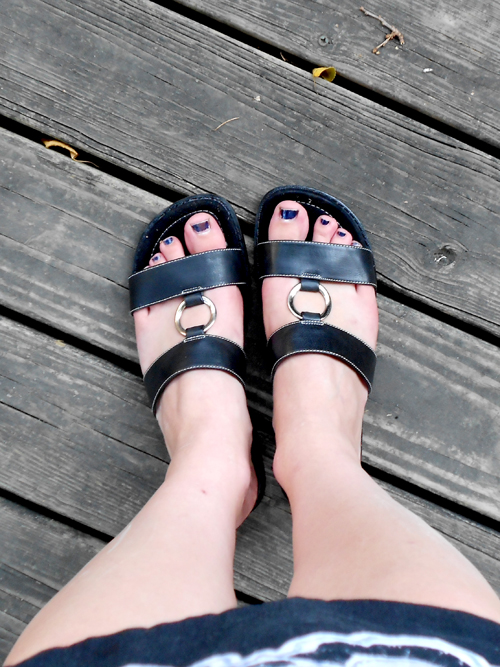
So I need some feedback from you guys with this outfit. When I was wearing it, I felt really thick around the middle. Just kind of...puffy. And when I look at this outfit, I feel like I look puffy. Does anyone else see that, or is it just me? Also, I'm not really sold on these shoes. I think they'd be cute with long pants, so just the toes poke out. My friend at work called them "grandma" shoes...you can't see it in the photos, but they have a square one-inch heel. Any opinions on those?
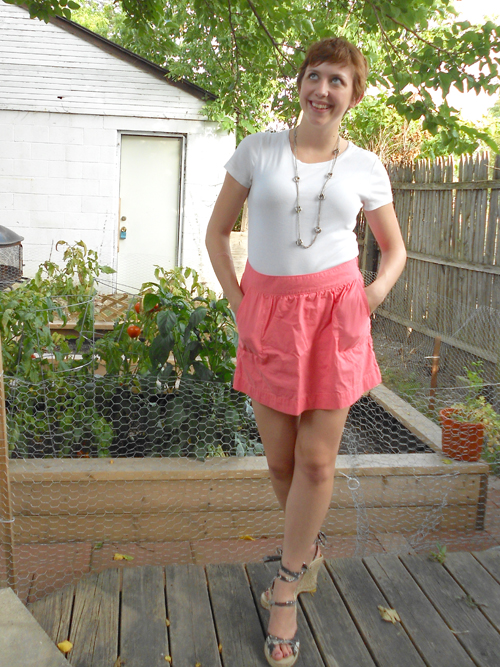
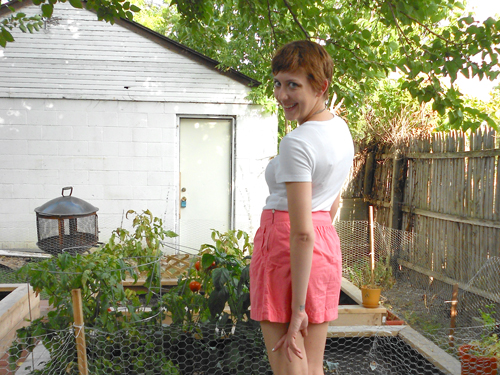
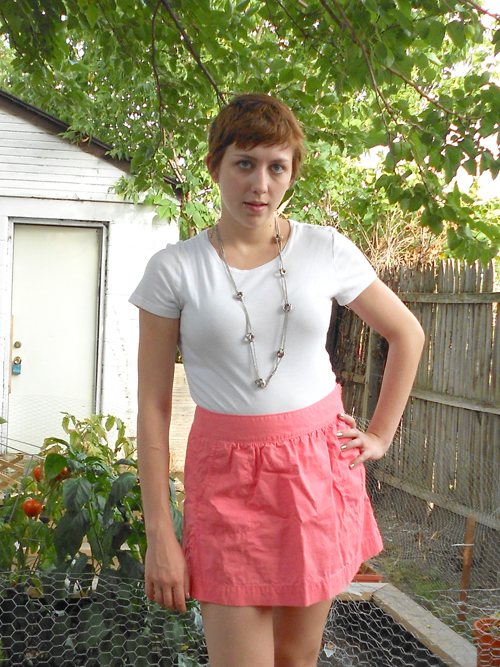
T-shirt, shoes: Old Navy
skirt: secondhand
necklace: Forever 21
If I were a serious, full-time style/fashion blogger, I'd be too embarrassed to tell you the truth about this outfit. But I'm just some chick who uses her little corner of the internet for pictures of her clothes and DIY projects. So the truth is, I actually wore this outfit back in June, never photographed it, then re-created it to take photos like two months later. Oops?
I wore this to a quadruple-birthday party; four of our friends have birthdays within a week of each other, so we usually celebrate with one big party. The bright pink skirt, seemed perfect for a nighttime soiree. I couldn't figure out how to style this skirt, so I went with the classic add-a-white-T-and-go method. Never fails!
(P.S. That third photo up there? It was supposed to be my "model" face. I'm so cool.)
Update: My friend Kathryn was observant enough to remember that I wore my pink flower clip thing in my hair at the party. Seeing as how I'm a horrible perfectionist, I had to say something. I may or may not Photoshop the flower into these pics and repost them, haha. Thanks for the reminder, girl!
For this week's project, I decided to tackle something that I've been meaning to do for more than a year now. Looking back, I can't figure out why I put it off for so long...it was super easy, and I really love the look. So here's the pin that inspired me:
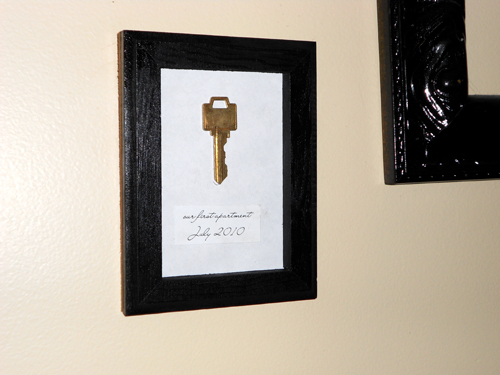
So I went to the thrift store to grab a cheap frame, which originally was unfinished wood. I had some leftover black spray paint, so I just hit it with a few quick coats. Then I hot-glued the key to a piece of paper, and printed off the date and description because my handwriting is terrible. And here's how it turned out!
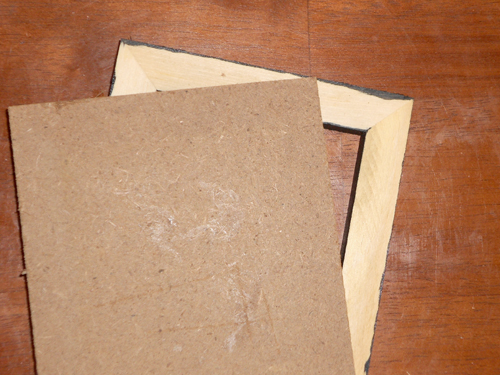
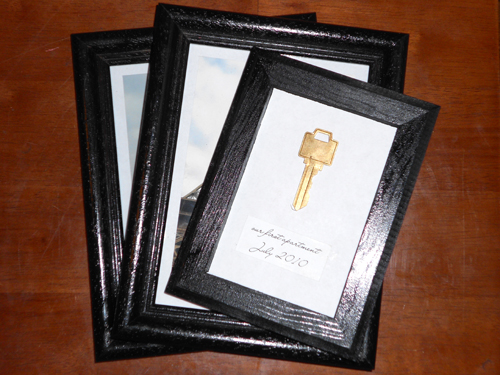 The frame didn't come with glass, or a proper back for that matter, so I had to get creative. The piece of paper that the key is glue to was just a tad smaller than the frame itself, so I just had to sandwich the paper between the frame and the piece of cardboard that came with the frame:
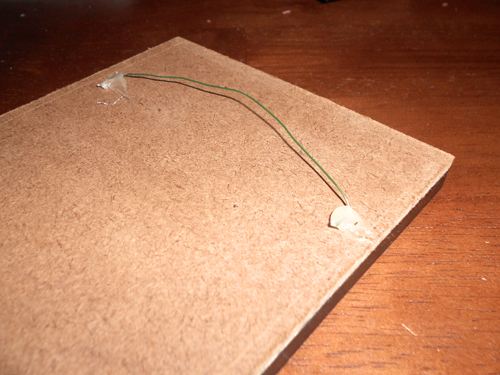
 Then I just used a little wire left over from last week's project, and hot-glued it to the back of the cardboard/frame.
 The final product turned out great, and I really like the shadowbox-like quality of it not having a glass cover.
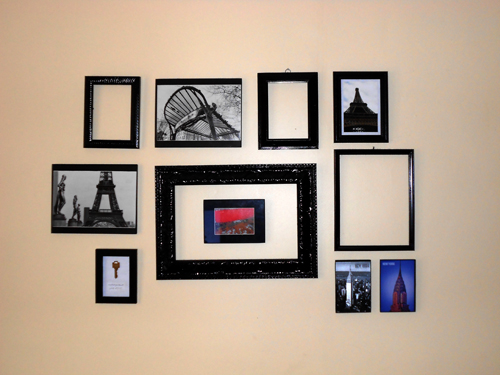
 It's now hanging, along with another new addition, among my living room gallery wall. The other new photo is the cool Eiffel Tower shot in the top right corner. My BFF Emily took that shot on her recent trip to Paris! It's a great shot; this image really doesn't do it justice. (The frames are mostly thrifted and spray-painted, and you can click here for info on the other art shown here.
 So, week two of Pin-spiration challenge is a success! Do you have any Pinterest-inspired projects you've been meaning to tackle lately?


